

Basically, all of the links on this page are affiliate links. I receive a commission (at no extra cost to you) if you make a purchase after clicking one of the affiliate links below. Read our Affiliate Link Policy for more information.
I’m about to do something I’ve never done before in FPV. That’s saying something, because it seems like I’ve done most everything there is to do in FPV. But there’s one thing. When it’s time to fly a Whoop-class drone, I never build it from components. I always just buy a bind-and-fly. (Or get given one to review.)
Bind-and-fly Whoops are so good, and the parts that come on them are usually the parts you’d probably use anyway. So why would I be building a Whoop today?
BetaFPV Matrix P1 AIO
This is the reason: the new Matrix series flight controller from BetaFPV, with the P1 video system built in. (It doesn’t say that on the box.)
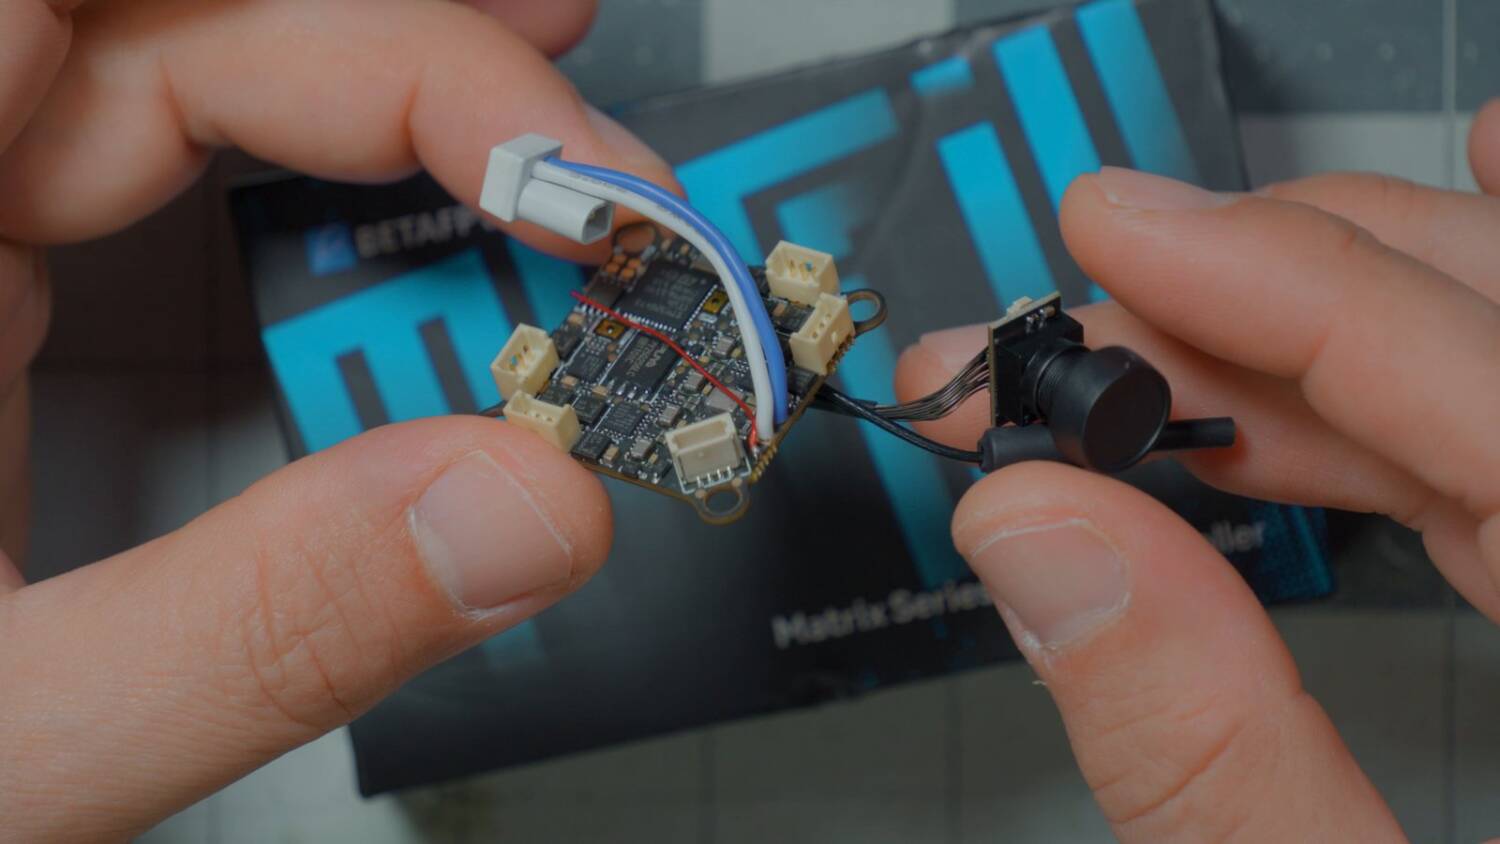
Most Whoops come with an analog video transmitter built in, for many reasons, most significantly cost and weight. You do see some HDZero Whoops. HDZero is about on par in weight, though not exactly in cost. But BetaFPV has the new P1 video system, their new low-cost digital system. And now they’ve got a flight controller with the P1 video transmitter built in.
I’ll be honest with you: if they had sent me a bind-and-fly drone, I wouldn’t be building one. I’d fly it and tell you how it flew. But they didn’t. They sent me a frame, some canopies and a flight controller. So I guess I have to build it myself. Okay, fine. I’m not scared to get my hands dirty.
Motors: WeBleed Gore 0702, 28,500KV
The one thing they didn’t send was motors. So I went to my pile of parts that people have sent me over the years and haven’t made it into a video, and picked these: WeBleed FPV Gore Edition motors, 28,500KV. I believed they’d work for this, and I’d find out when I put them in the frame.
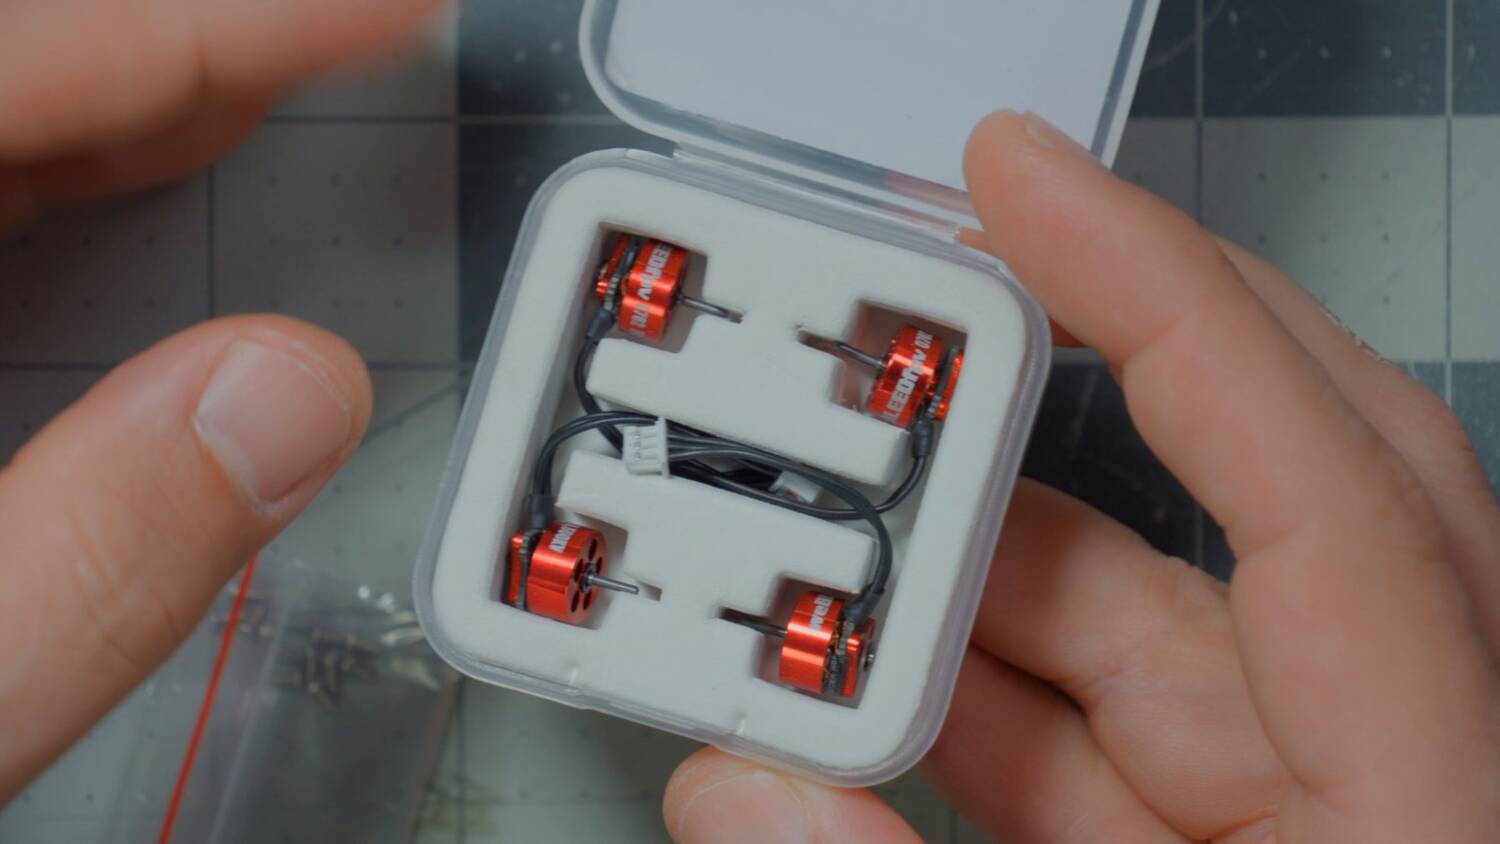
I have motors from about 23,000KV up to about 40,000KV. I just tried to pick something that seemed powerful and fast, but not completely off the rails. I’m not kidding about the first build, either. I’ve worked on Whoop-class drones before. I don’t think I’ve ever built one from scratch. How is that possible?
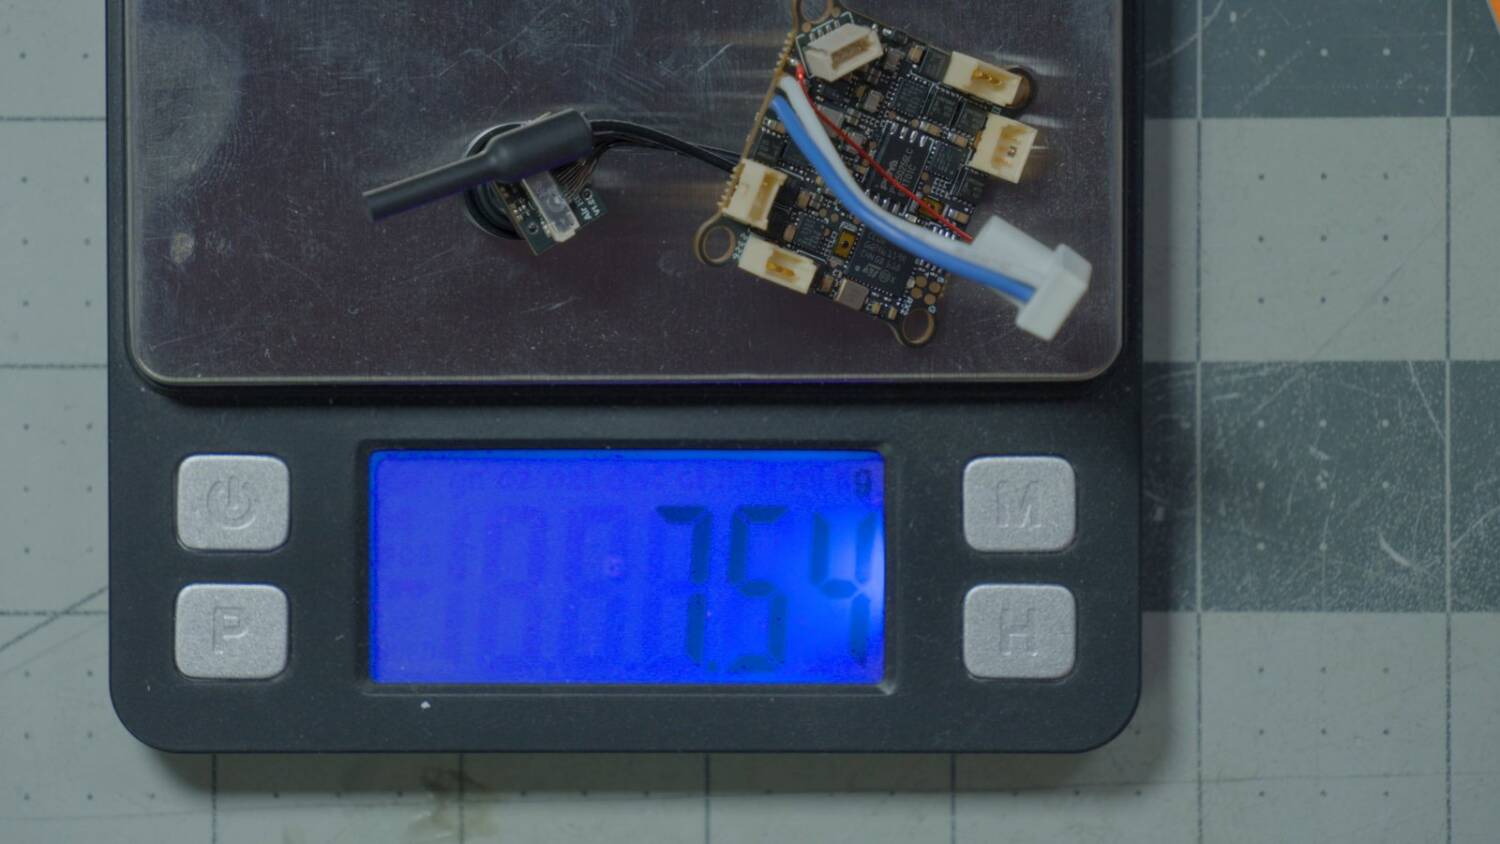
Pre-build weight check
The flight controller and camera together weigh 8g.
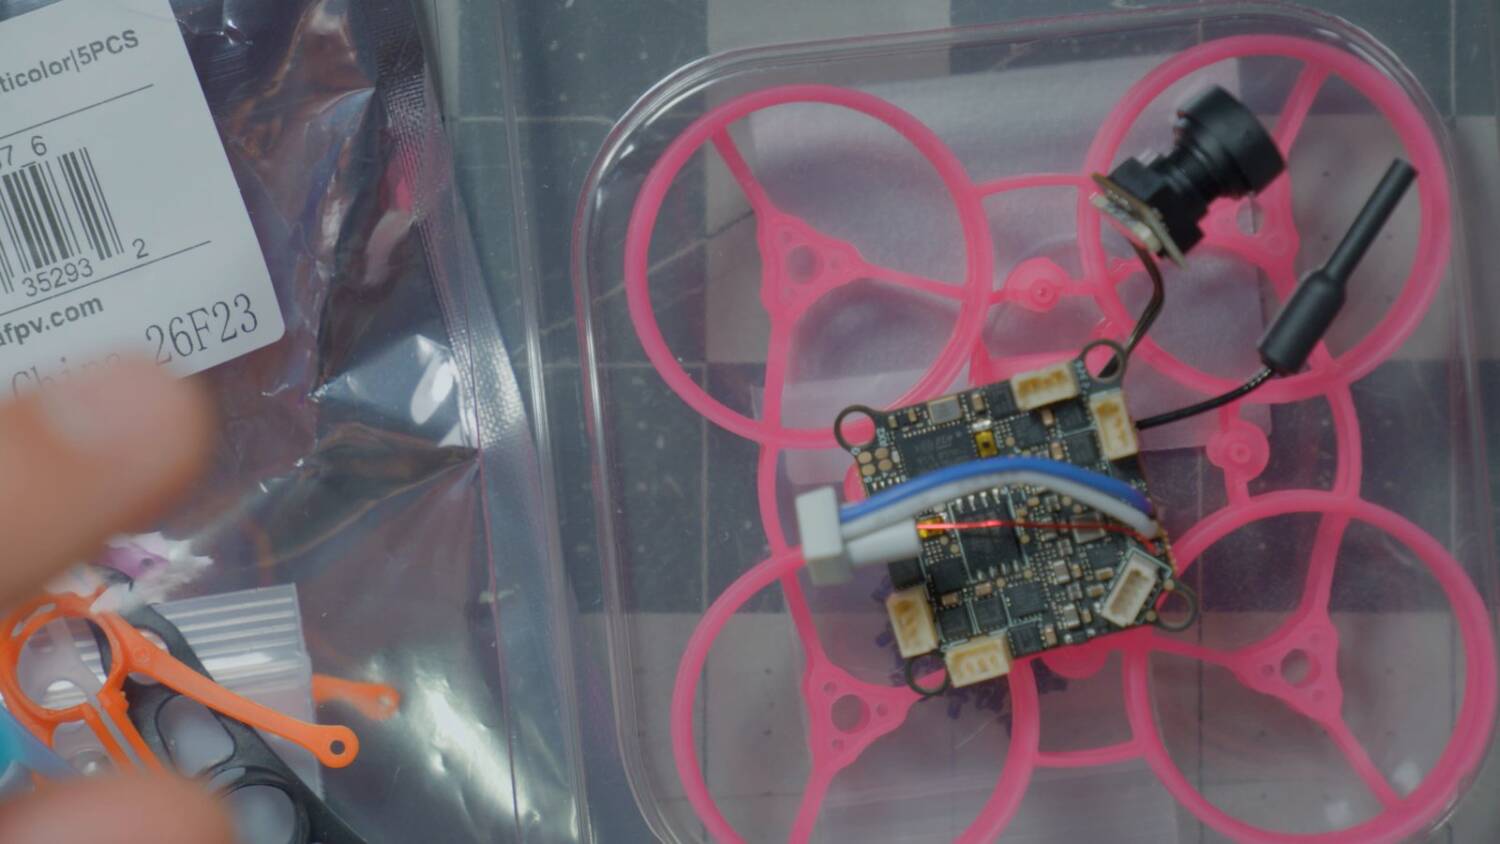
Add the frame: 9g.
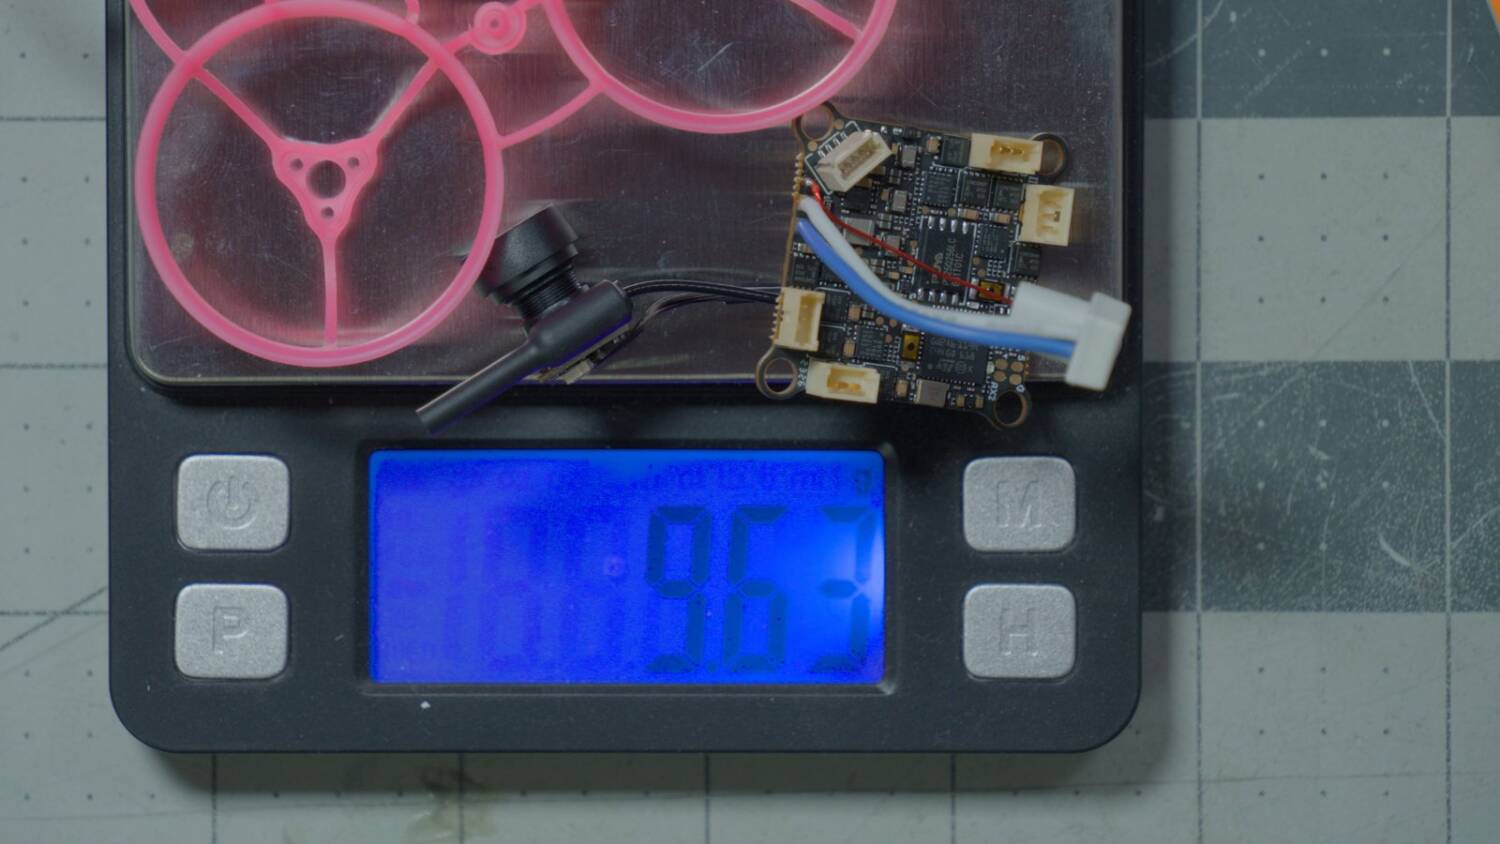
The canopy (I went pink and white): 10g. And the motors: holy crap, 16g. A few screws are still missing, so maybe another gram or two. Call it 16, 17, 18g for a 65mm Whoop.
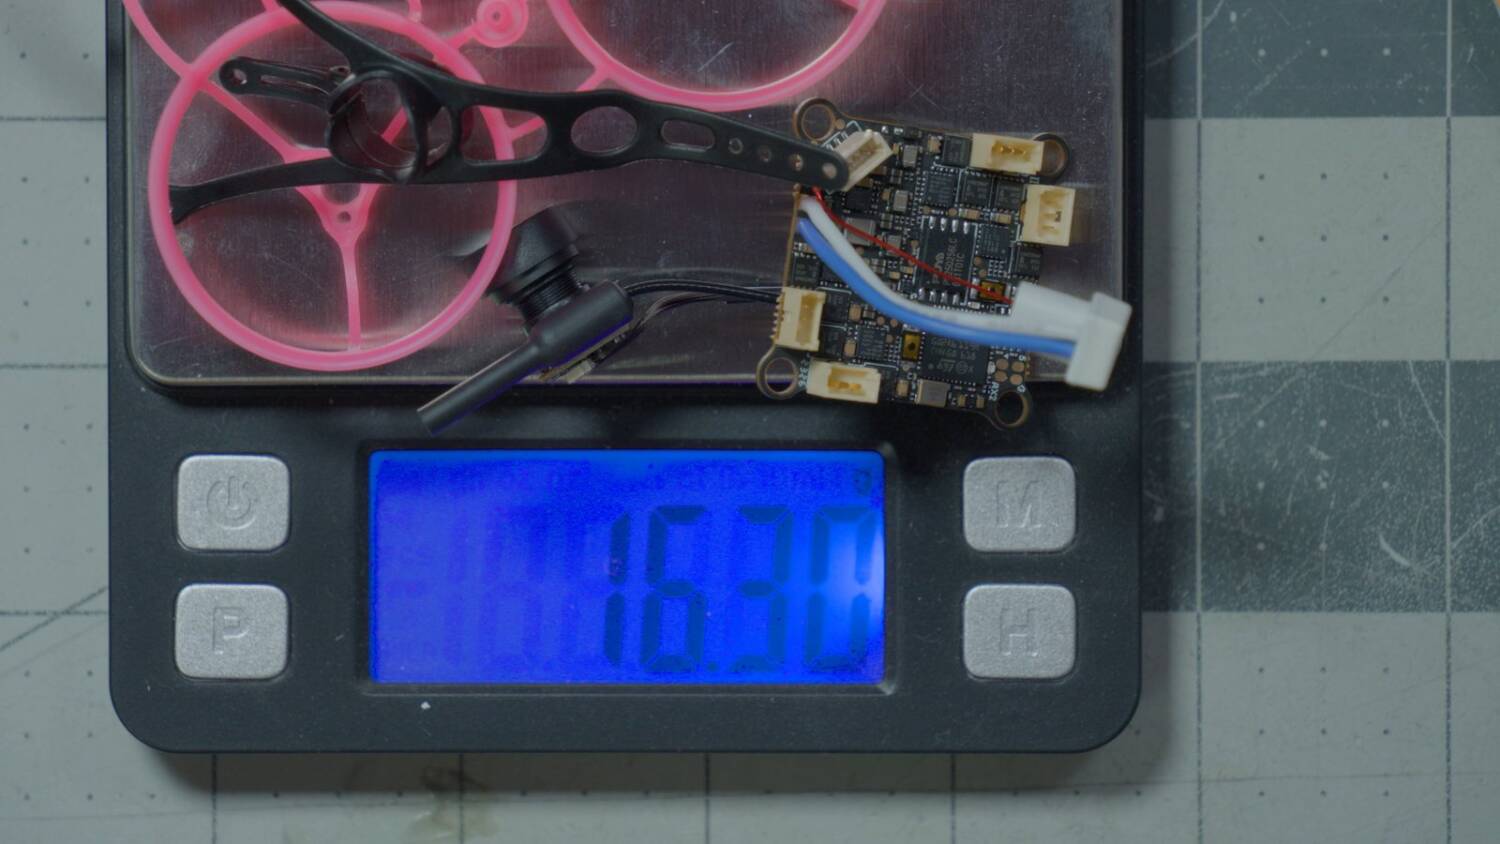
That’s on par with the lightest analog Whoops people are making, like BetaFPV’s Air65, which gets down into the 16 to 17g range. I think that’s basically the state of the art, until you get really crazy with the frame and really compromise durability. For a digital video transmitter, that’s pretty impressive.
Install the FC in the frame
I tried something different with the battery. Normally it goes front to back, and I wanted it side-mounted. The frame is symmetrical, so I didn’t think it mattered.
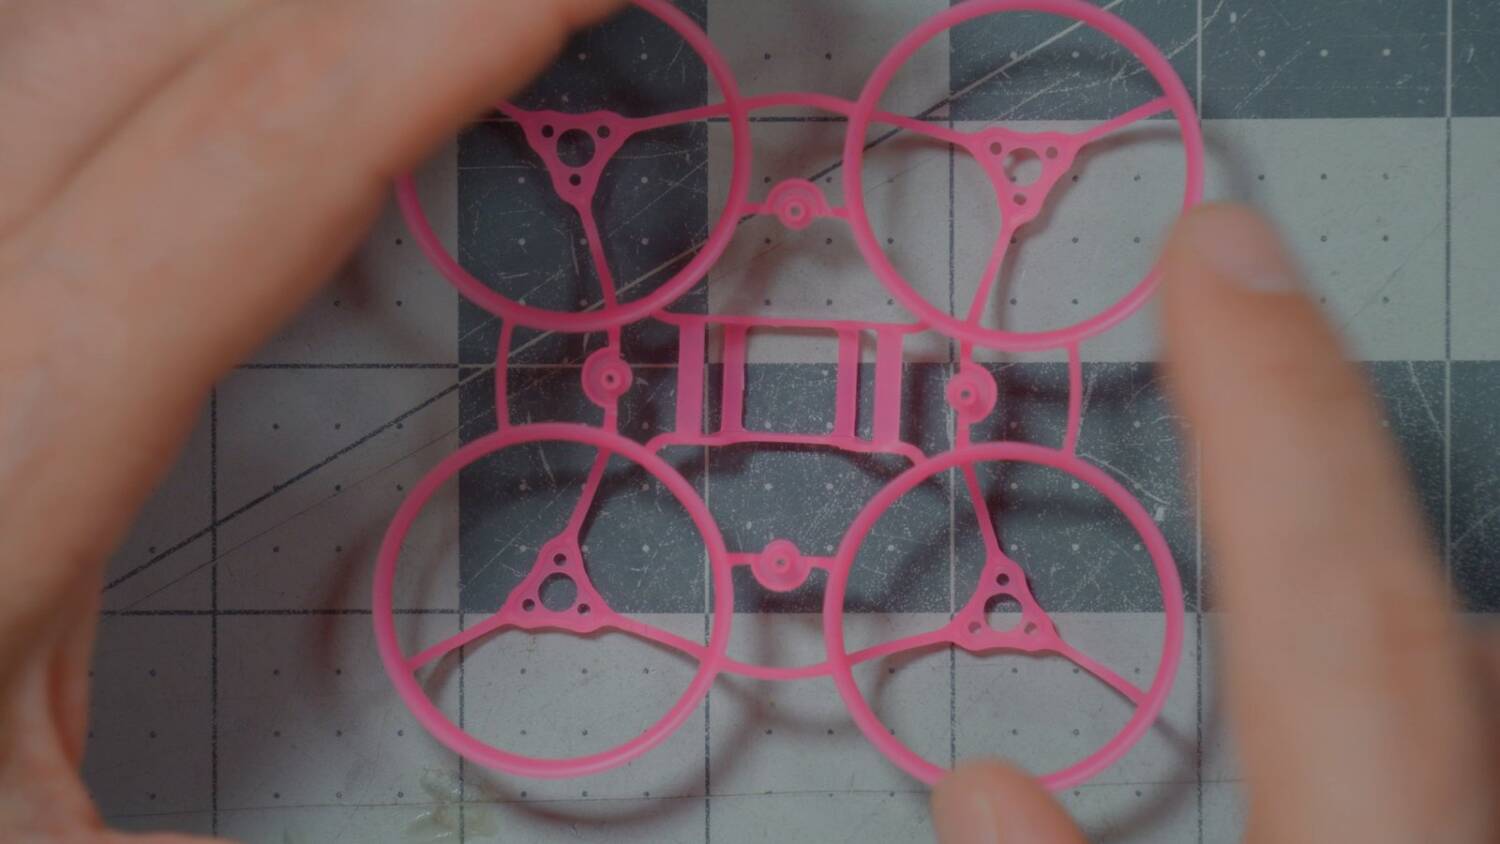
Then I had to find the front of the flight controller. There it is: the front-facing arrow. I set it down with the cable coming out the back.
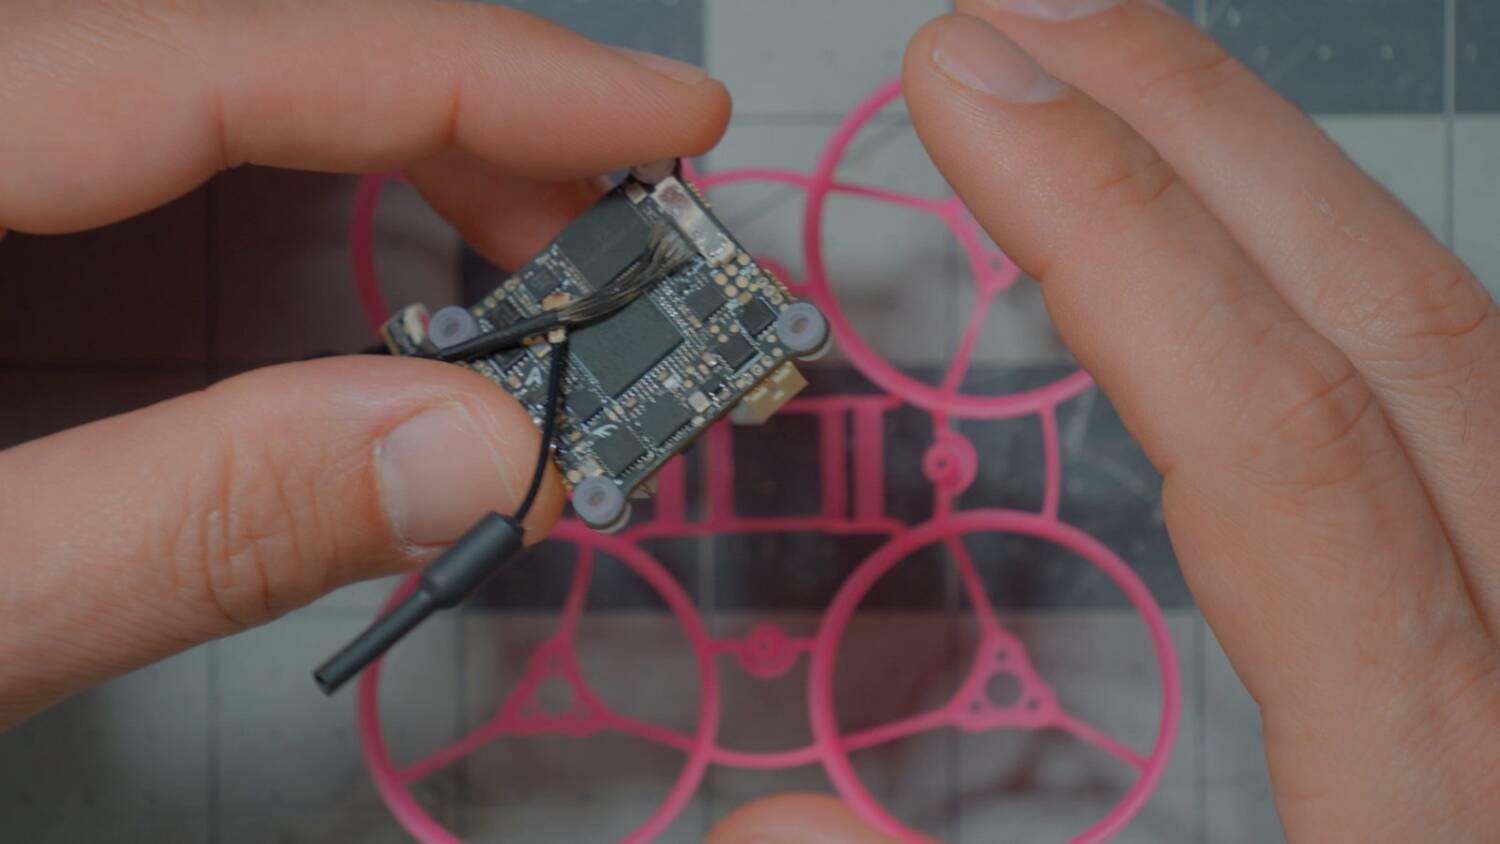
If the flight controller doesn’t face forward, you can always remap it in Betaflight later. But the motor plugs were in the way of the battery. So: battery front to back, lengthwise, and it went in with no problem. You try to be clever, and sometimes you get slapped down.
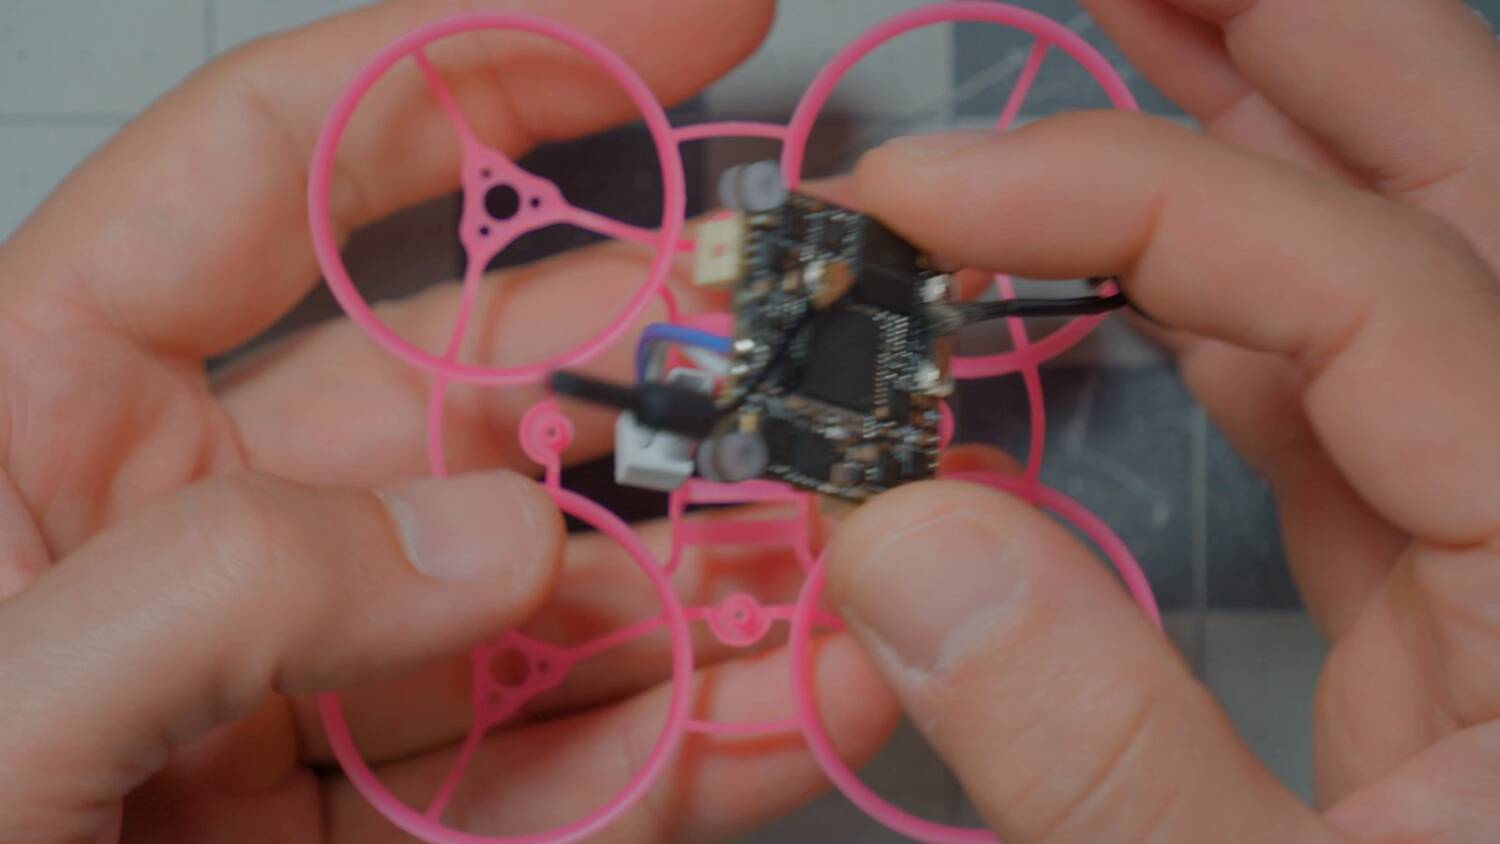
I pulled the smallest Phillips screwdriver out of my iFixit kit. I never use it, because I really hate changing bits. I just want to grab a tool off the rack and use it. But it’s actually a really nice screwdriver with really nice tips. I should use it more often.
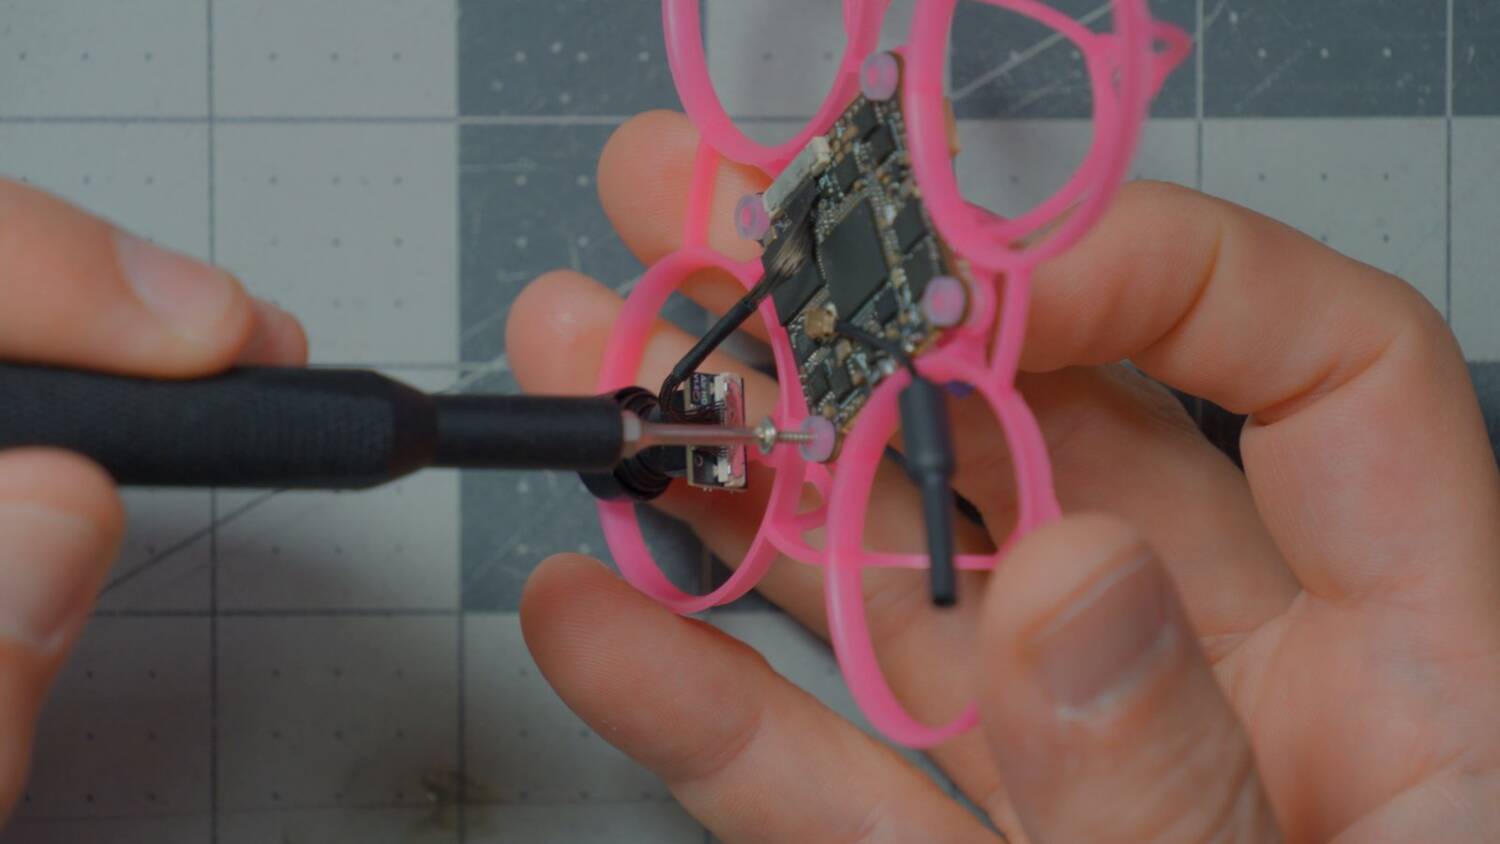
Install the motors
Now the motors. That’s the other reason I’ve never built a Whoop: I need a freaking magnifying glass for my old man eyes.
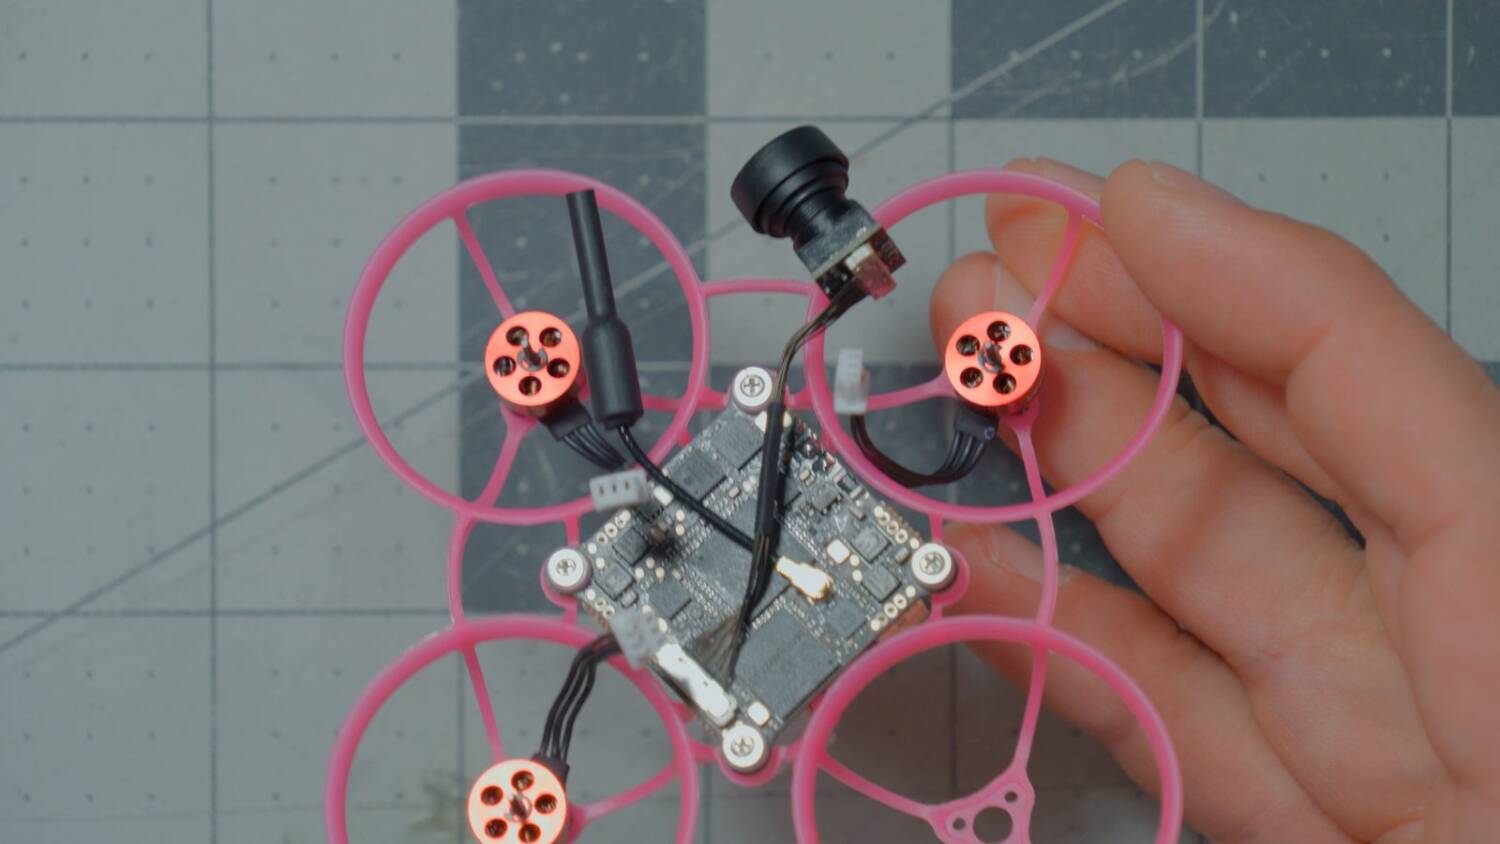
It occurred to me that I need these motors to spin clockwise and counterclockwise, and I should have checked whether they were wired that way before I started putting them on. Red dot. No red dot.
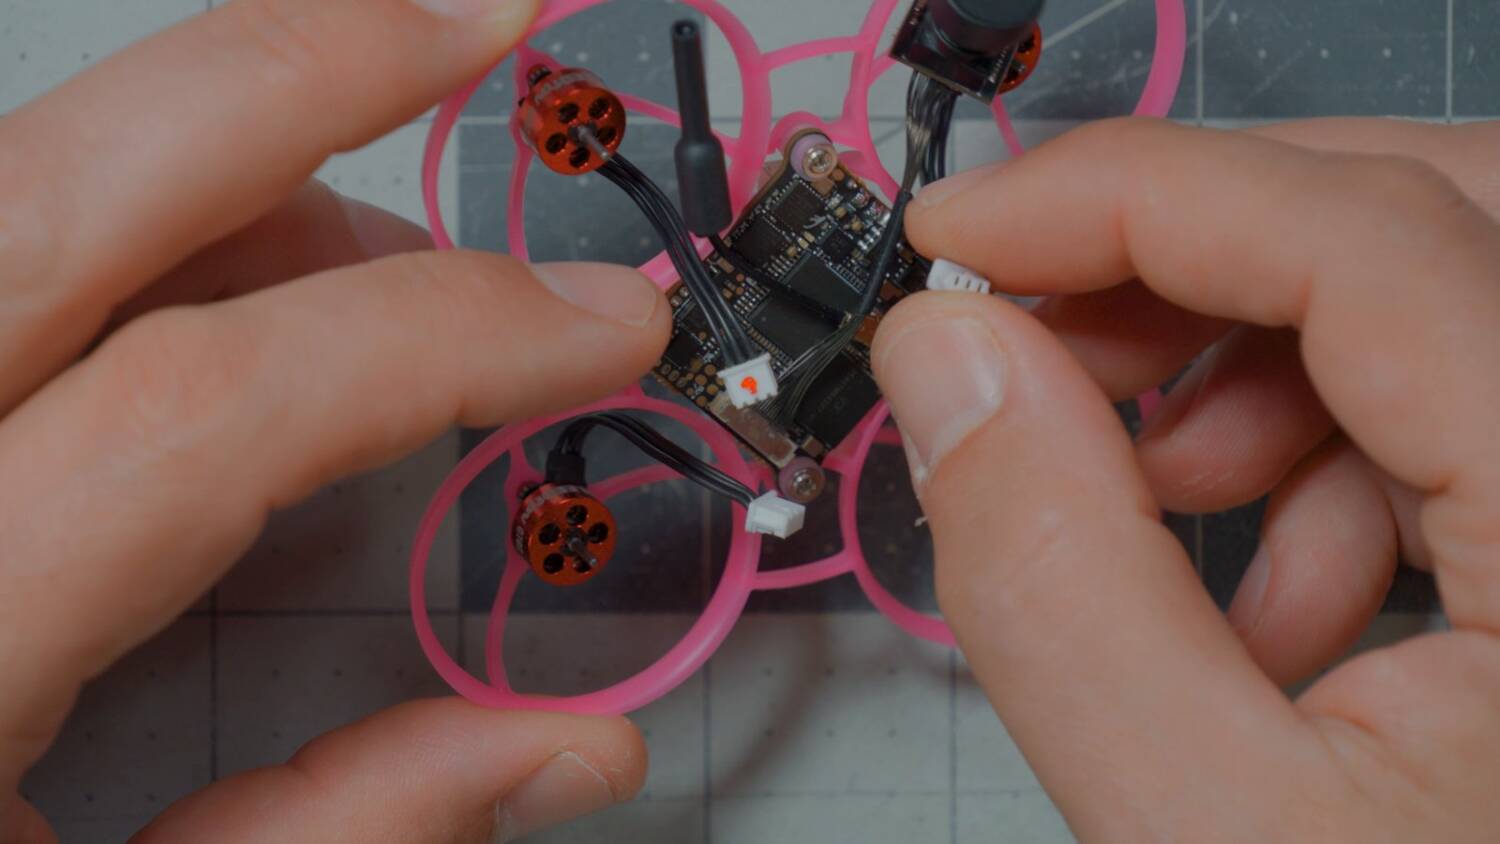
Is red dot clockwise or counterclockwise? I don’t know. So I’ll reverse them in Betaflight, or in your ESC software, whatever it is. Not a big deal. It’s a little annoying that I didn’t catch it first. Hey, first build. You’re going to make some mistakes.
Some people will object that I used the motor plugs instead of direct soldering. There’s no doubt direct soldering performs better. The plugs have higher resistance and cause power loss and voltage loss to the motor. But the point here is to try out this video transmitter and flight controller. To direct solder, I’d have to cut the plugs off and solder to the pads on top. I’m somewhat confident in my soldering, but those are some tiny joints, and that’s just not what I’m here for today.
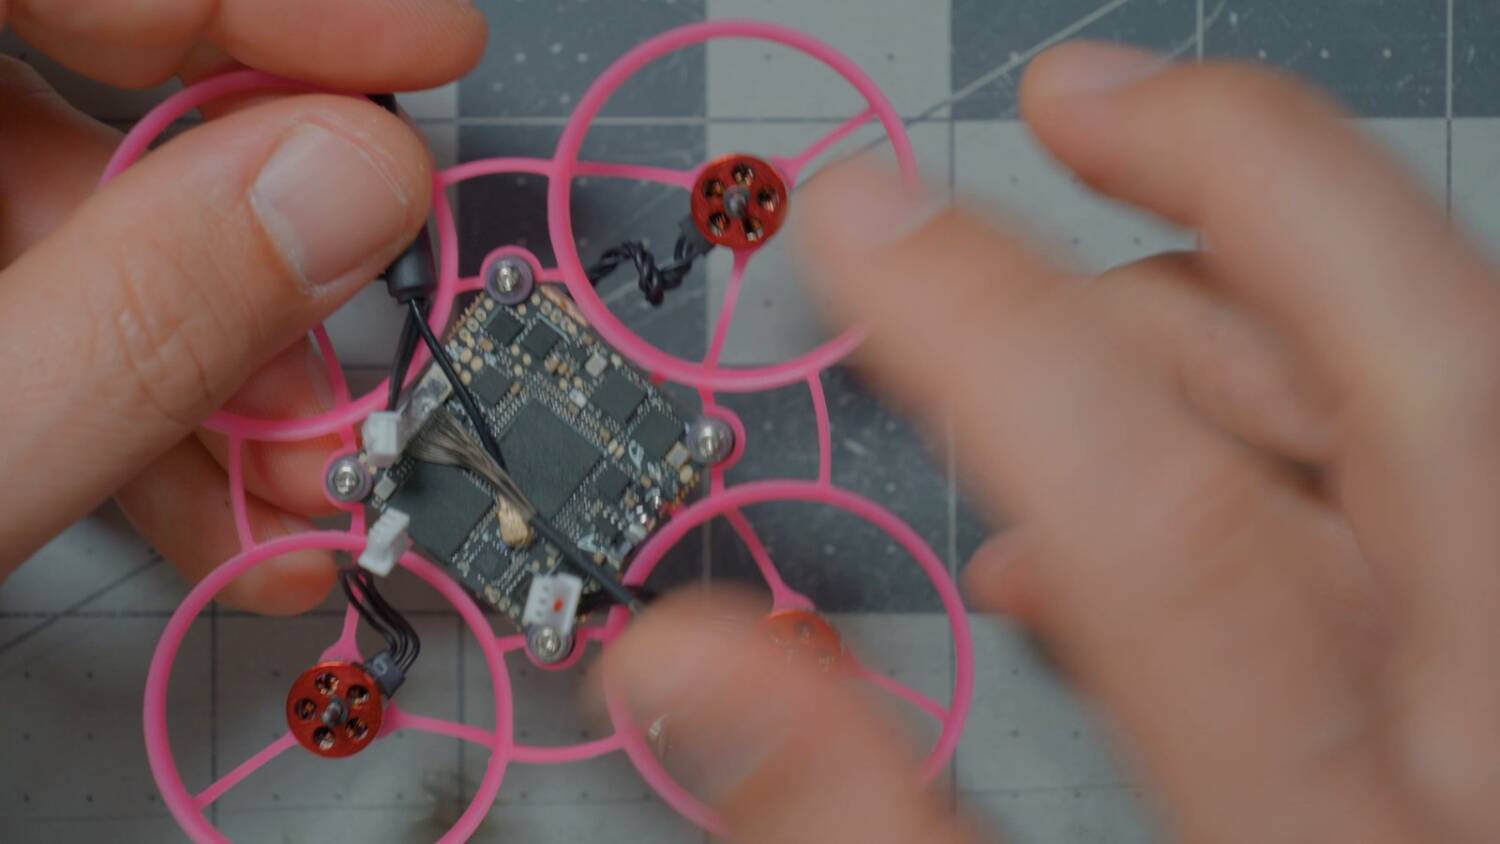
The plugs also make it easier if I decide to swap in higher-KV motors later. And not going for the highest possible KV is complementary with using plugs. The more current the motors pull, the more the plug’s resistance matters. It always matters some. It’s not like it doesn’t matter at all.
Install the camera canopy
Looking good. This isn’t hard. This is a piece of cake. I wasn’t loving the black canopy. Pink and blue was a little too much, like a gender reveal. So I went pink and white. Peppermint.
Do I just jam the camera in? It spreads out at the bottom, then you jam it in. Do I have to remove the lens? Surely not. Surely I don’t have to remove and refocus the lens to get this in here. It has little tabs on top and spreads at the bottom. Put it in cocked, then squeeze it, and there we go. That’s pretty secure.
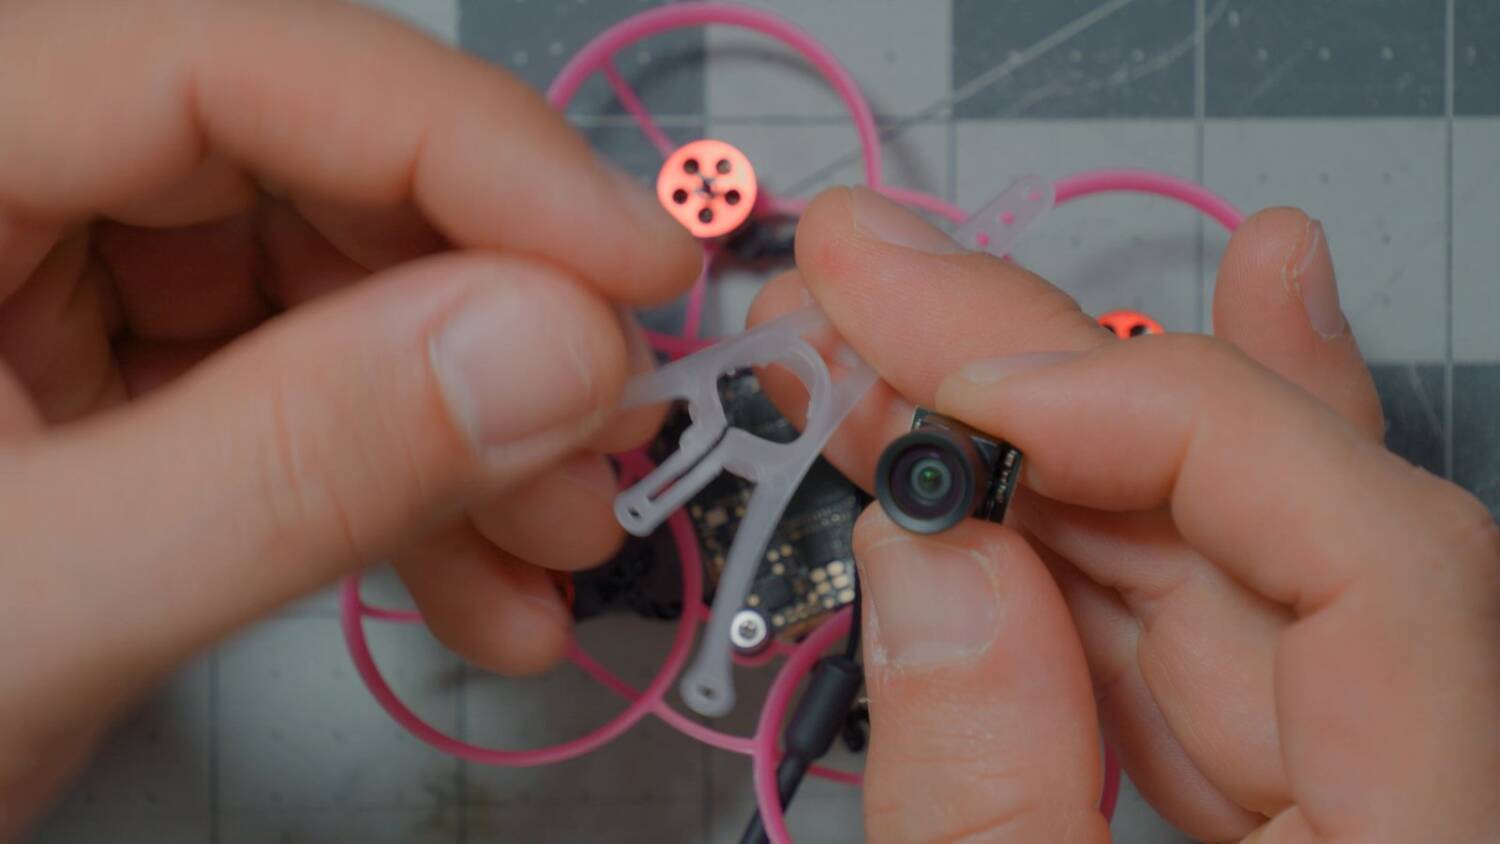
Then I realized the screws go here. All of them. I had to take every screw back out again, because I messed up.
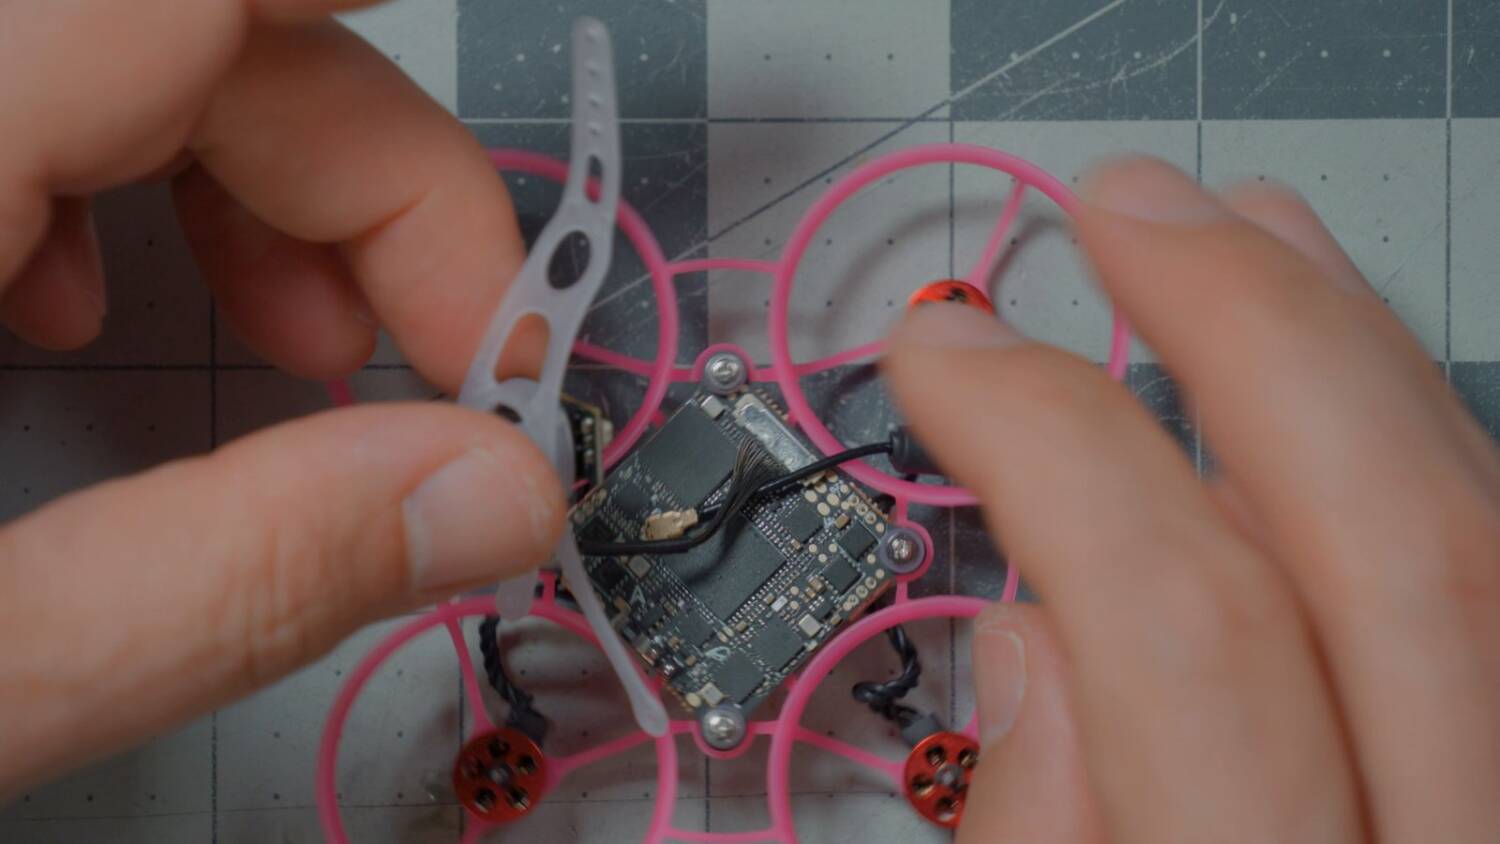
One of the screws sets the uptilt angle, which is just so clever. I went for something not too extreme, said the man picking the second-most extreme hole. That’s like 45 degrees. No, no, no.
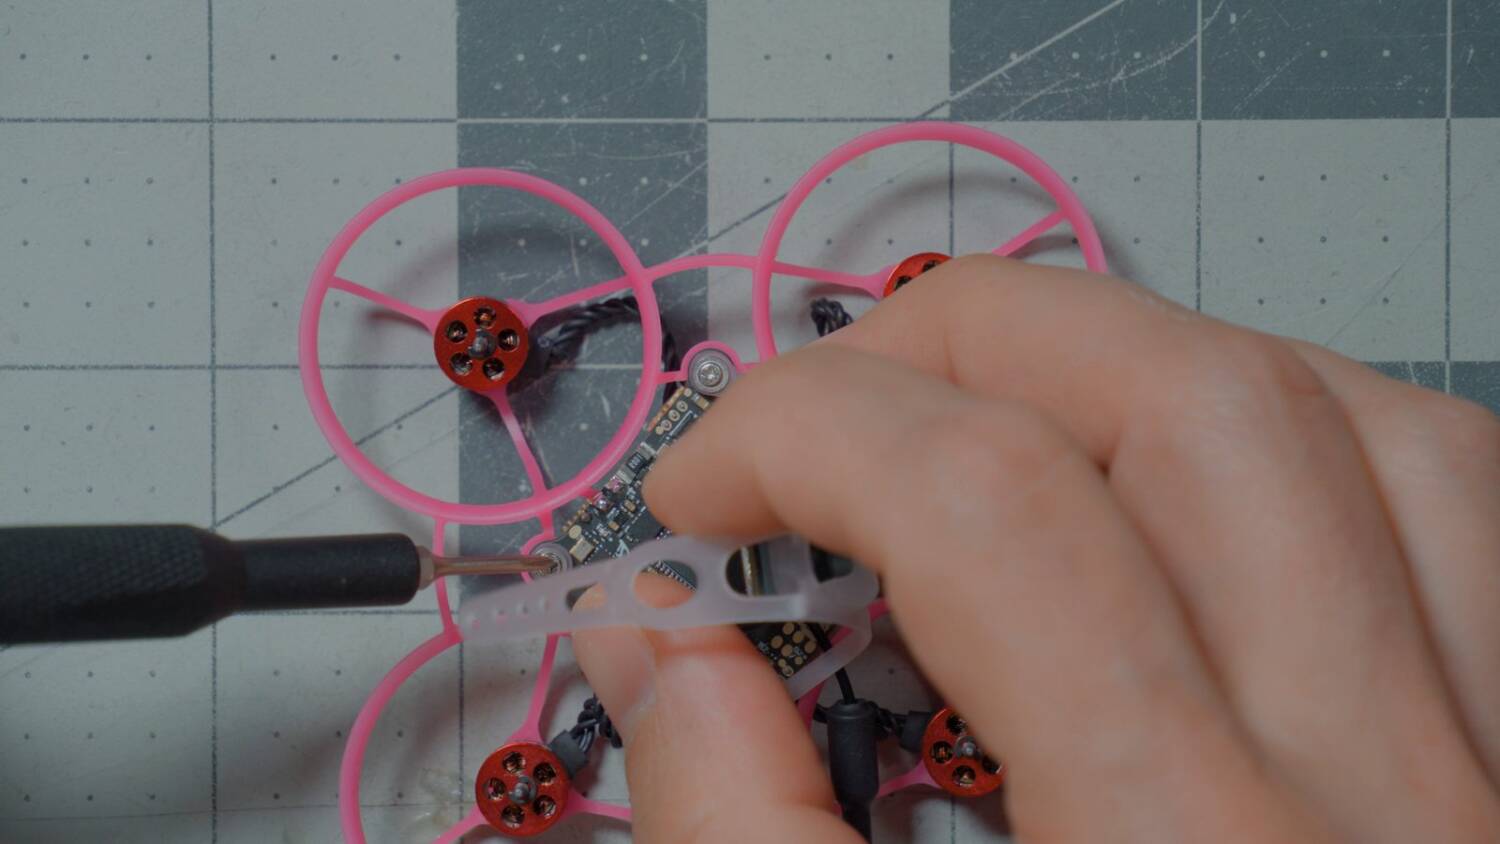
The build is done!
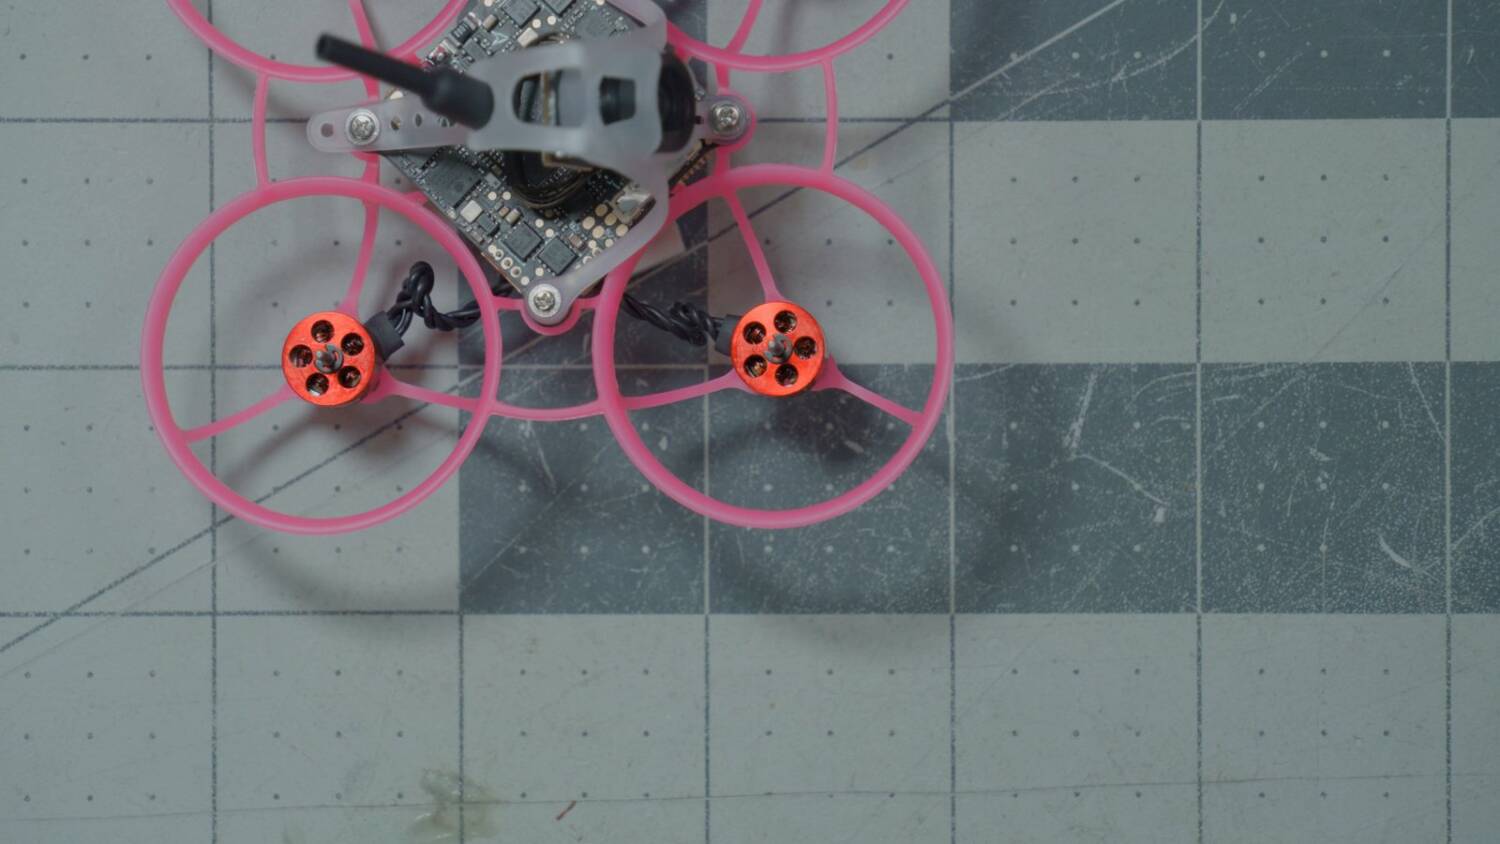
Look, I built a drone. That was easy. I’ve only been recording for 23 minutes. Piece of cake. Well, not quite done: I had to secure the antenna. I think it goes up through the canopy.
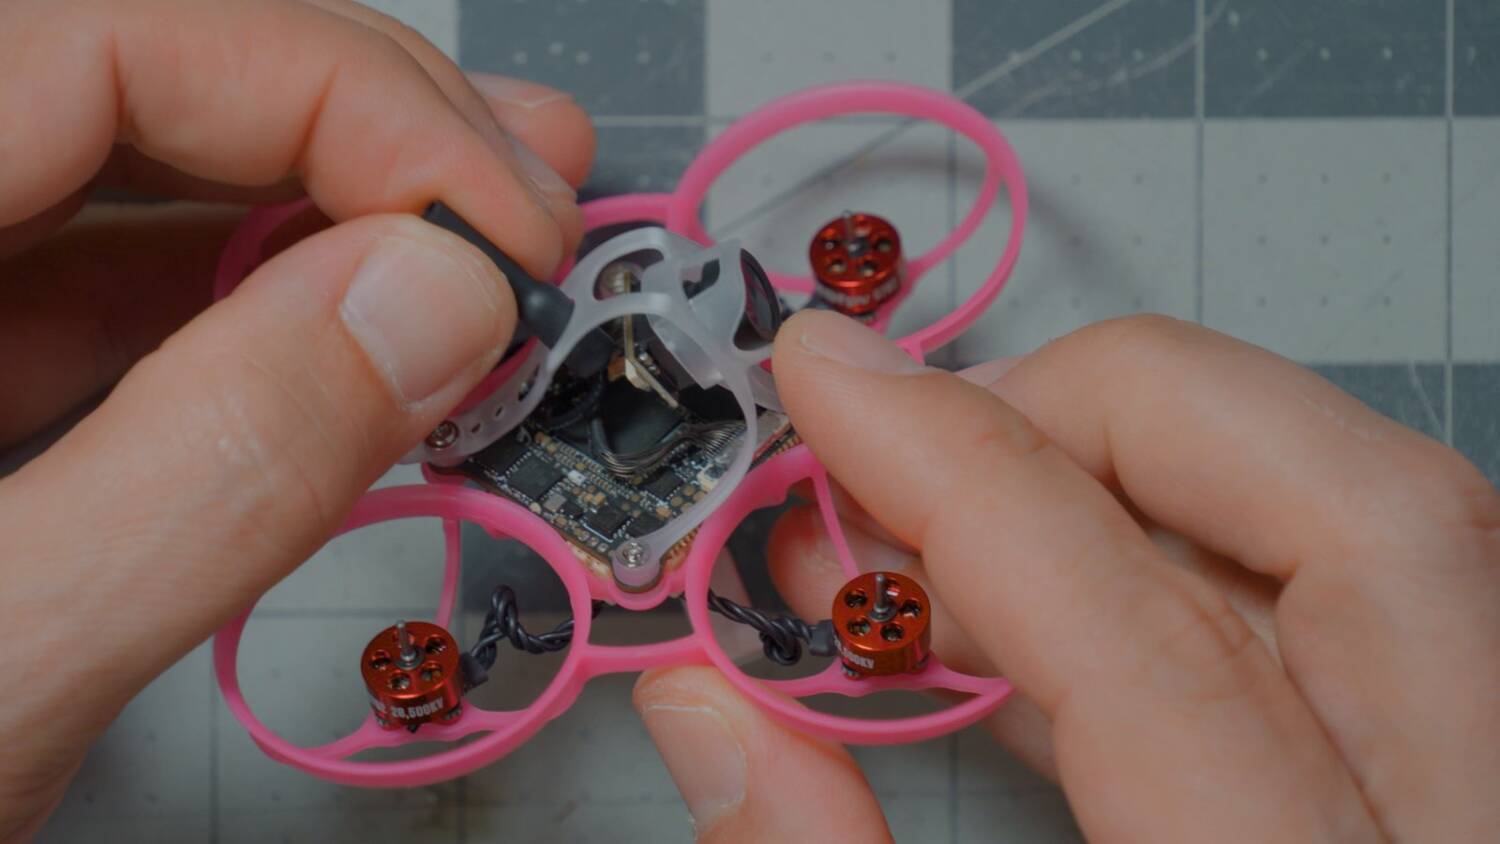
Then the video antenna is up top and the control antenna is down below. It has ExpressLRS.
Flight test vs. an analog Whoop
I’ve been doing RaceGOW. RaceGOW is a Whoop racing thing where you set up a track and try to get good times.
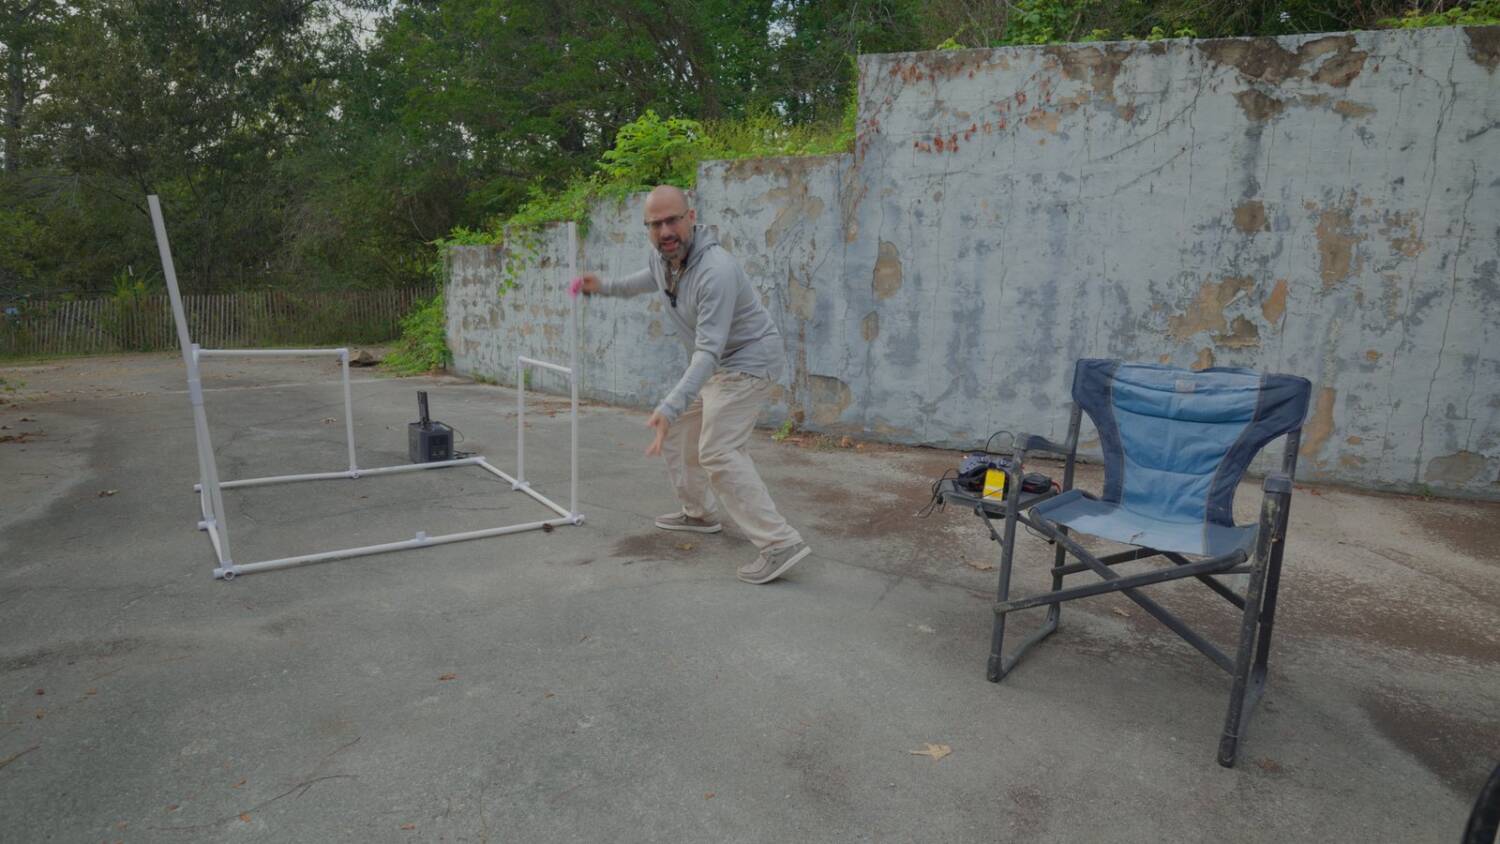
I’ve been racing a BetaFPV Air65 Champions Edition, and it’s within a gram of the same weight as my Matrix P1 build. Since I already had lap times for it, let’s just see how much slower the P1 actually is. Let’s be honest: it’s going to be slower.
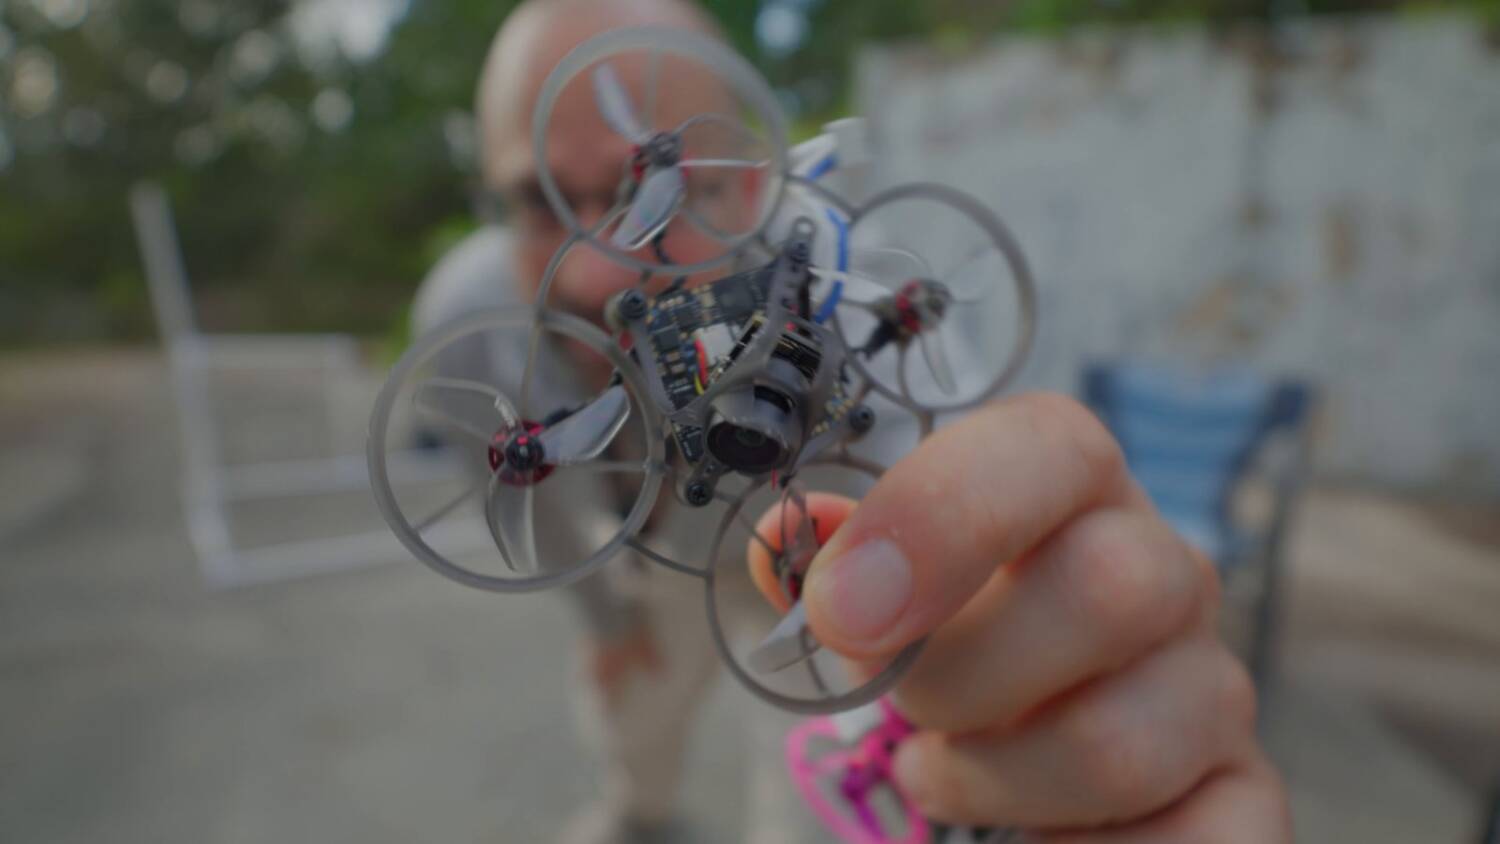
On the Air65 with analog video, on this exact same course, my laps were around 11 seconds at best, occasionally breaking into the 10s. My best three consecutive was around 35 seconds. I don’t think I got three 11s in a row.
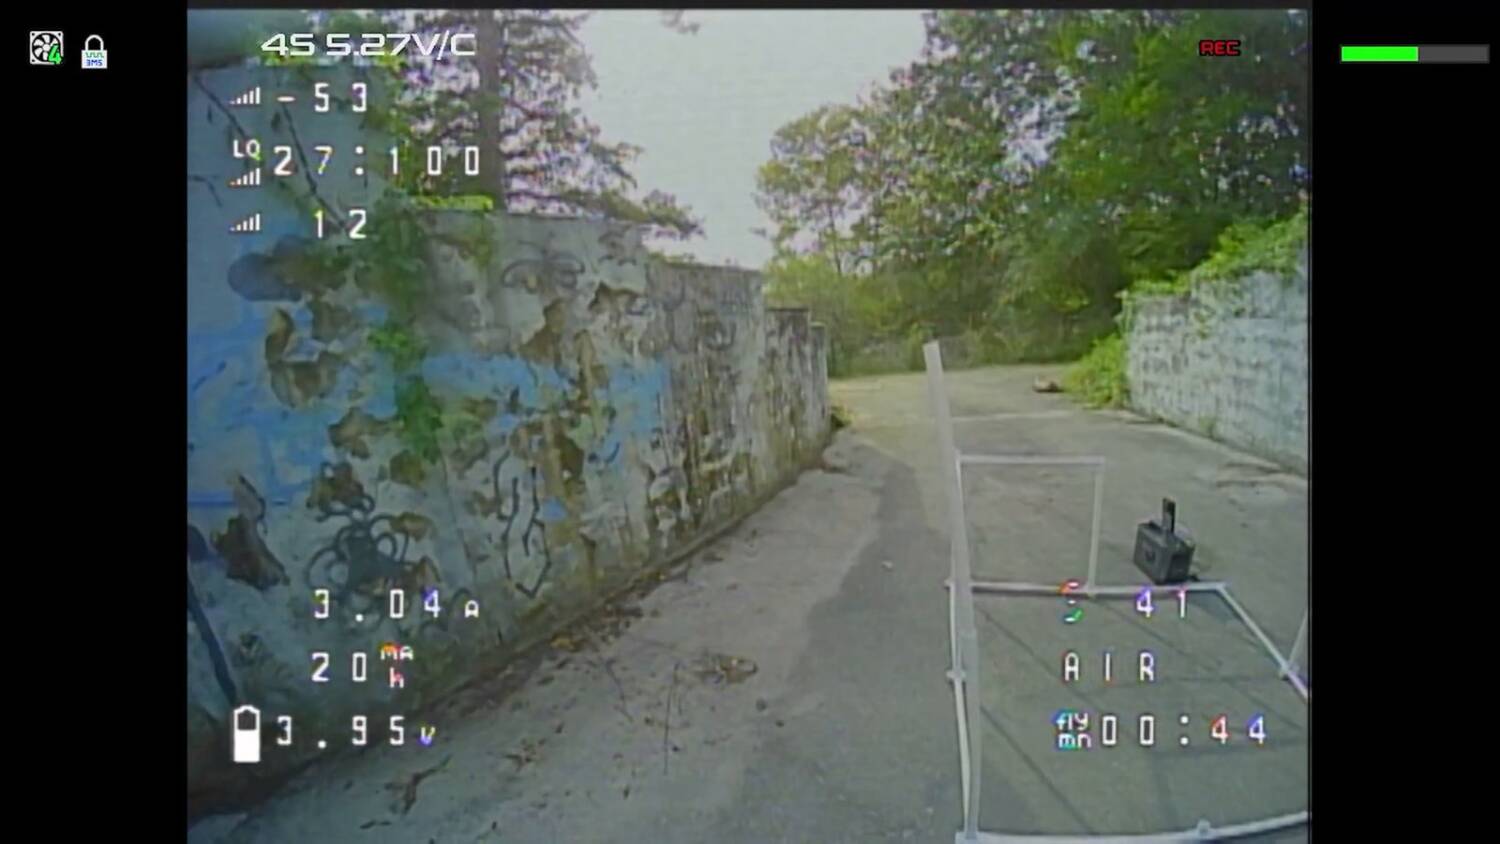
With the P1, I’d only been doing the course for about an hour, so the first packs were me adjusting to the drone. The weight is very similar. I set the rates the same and used the same batteries. It’s a very comparable setup, except for the video system and the latency. The latency is going to be the main difference.
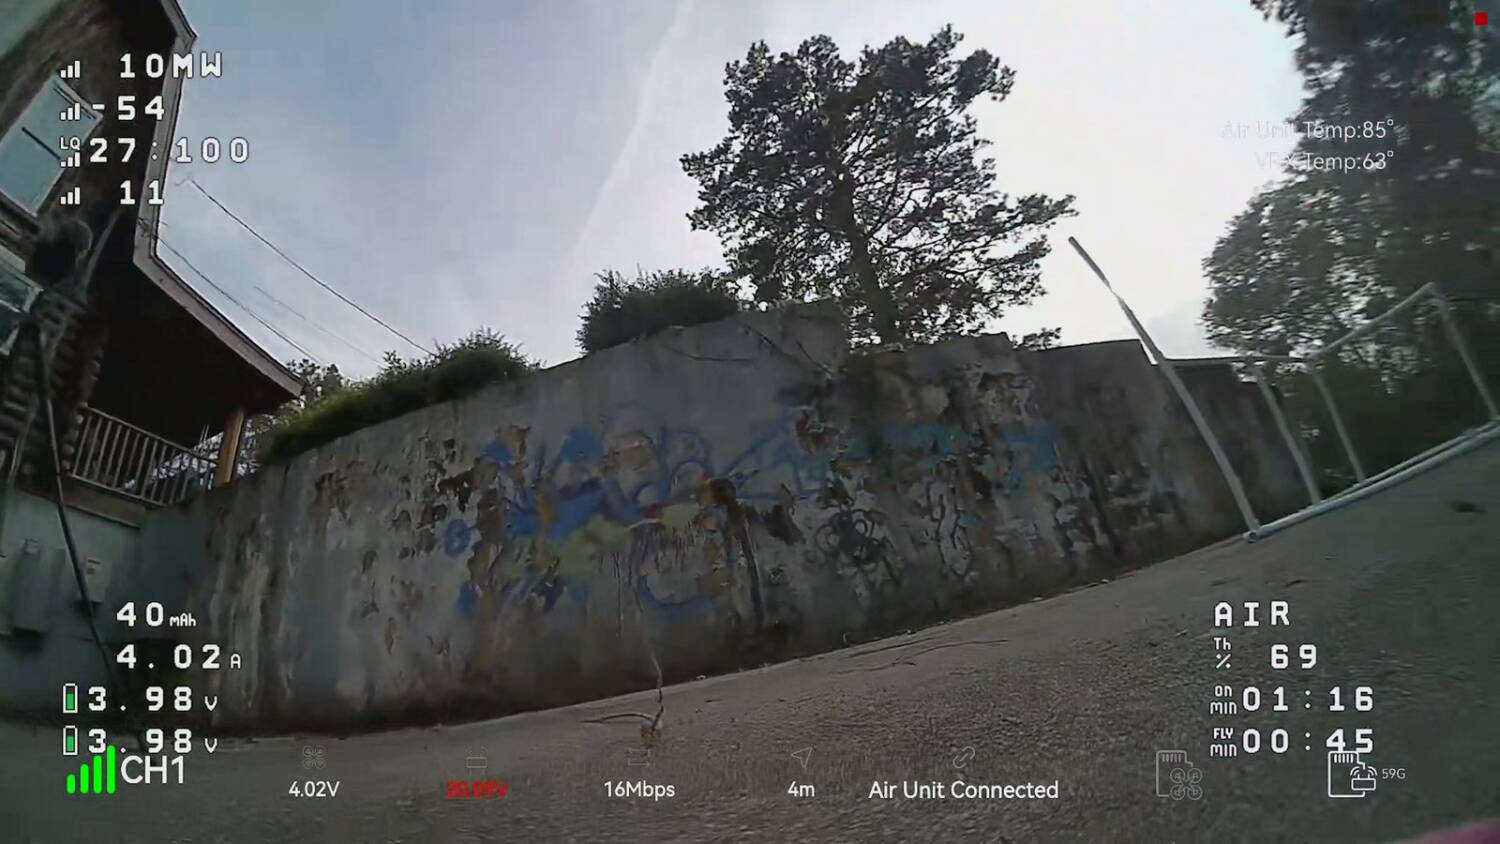
I’ve often said that when you’re picking up speed and trying to be precise, that’s when latency really gets you. So this was the perfect opportunity to feel it out. I also wondered whether, because a race track is predictable, you could start to compensate for the latency a little. I don’t know. I did have to adjust to the drone, because the two won’t fly identically. They have different KV motors, for example.
After a while, I felt like I’d plateaued. My best laps with the Air65 were 11s, with the occasional 10. With the P1 build, I was getting 12s to 14s. I don’t think I got a single legitimate 11. So, surprise, surprise: higher-latency links are worse at racing. We knew that. But hey. Science.
The full build and the lap-time comparison are on my YouTube channel.