
Basically, all of the links on this page are affiliate links. I receive a commission (at no extra cost to you) if you make a purchase after clicking one of the affiliate links below. Read our Affiliate Link Policy for more information.
Parts I used
- Purchase the Sub250 Huma25 at Sub250
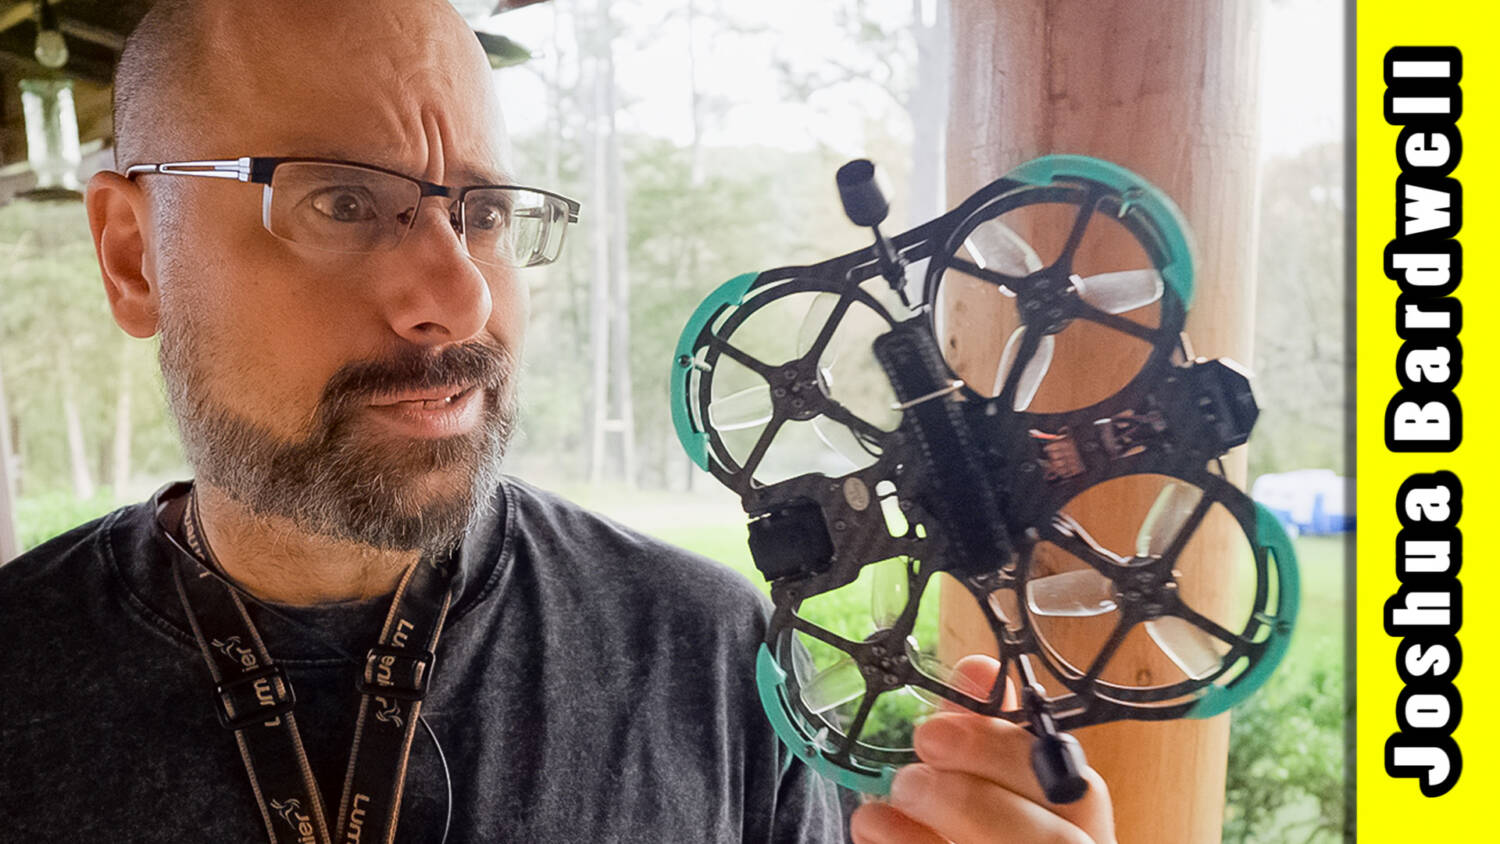
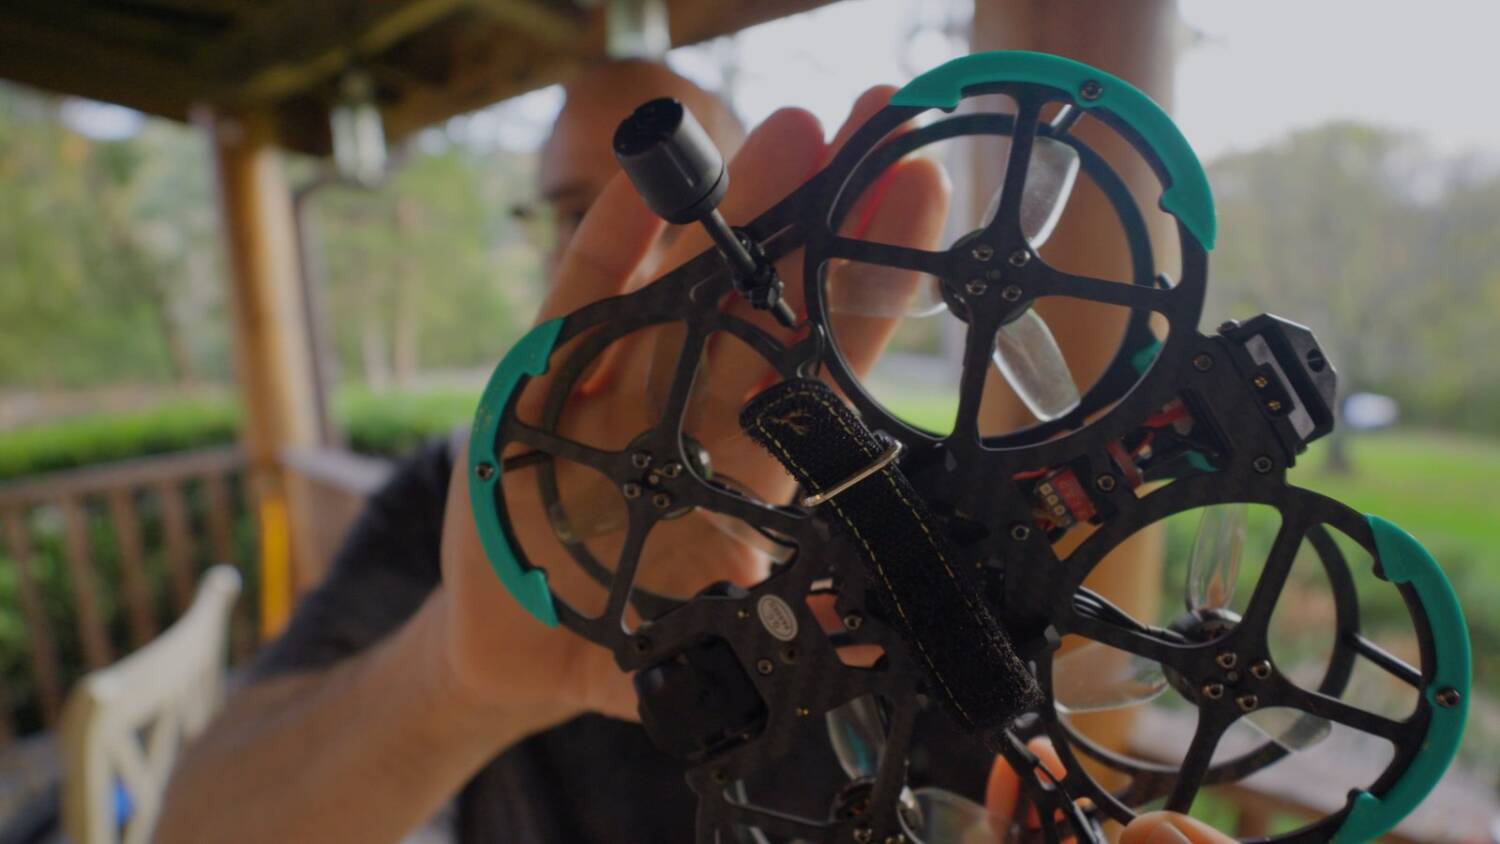
Picture a cinewhoop. You’re probably picturing one of the modern designs, because the days when cinewhoops looked like the Sub250 Huma25 are kind of behind us. So why is Sub250 releasing the Huma25, a brand-new cinewhoop in 2026 with, frankly, such a dated design? That’s what I’m going to try to figure out.
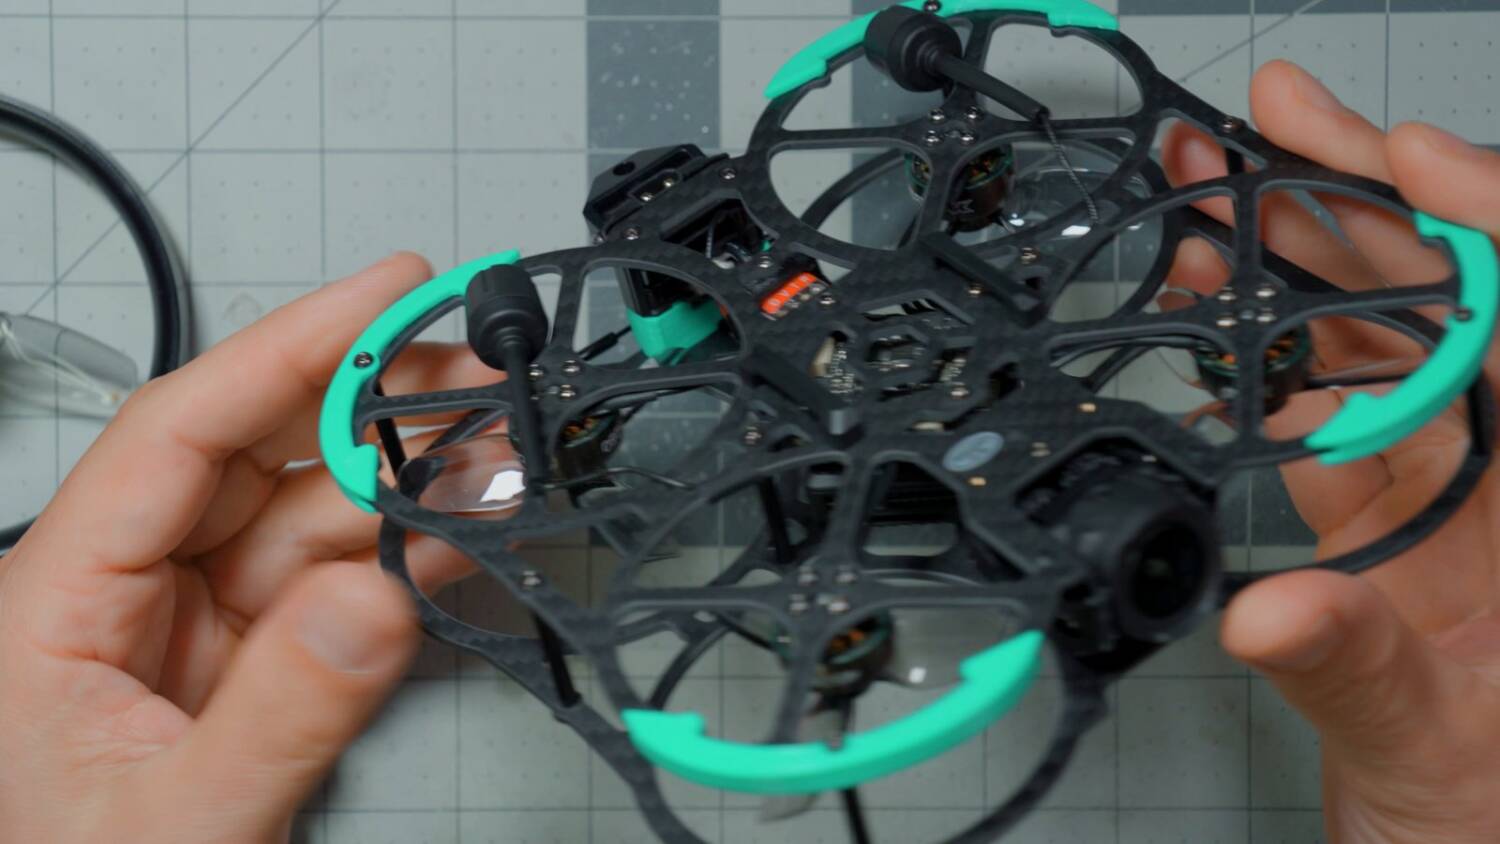
The first cinewhoop
It’s dangerous on the internet to talk about who was first at anything. As soon as you say it, somebody will find some obscure reference to someone who did it before. But I’d say the very first cinewhoop, certainly the first to reach commercial success and popularity, was the Shendrones Squirt. And I wouldn’t blame you if you didn’t even recognize many of its design characteristics.
Andy Shen used 3D-printed ducts to try to improve the efficiency of the props, and to give some protection to anybody the cinewhoop might be flying around. The original idea was to use an effect where, when the prop tip is very, very close to the duct, you get an improvement in efficiency. In fact, his original design used TPU ducts, with the idea that the prop would gouge into the duct and cut a channel in the wall, so it was as close as possible.
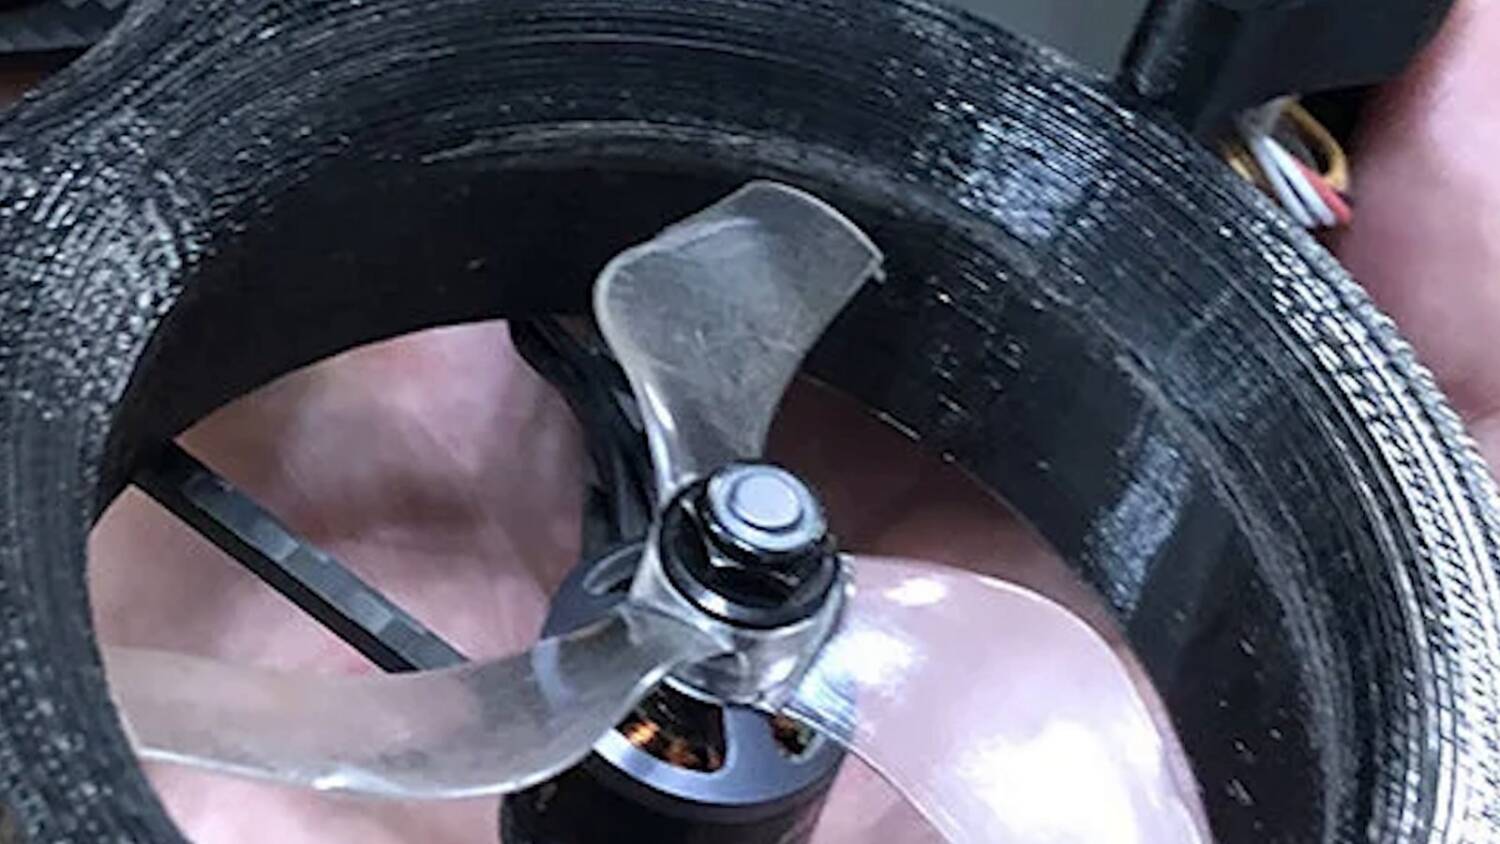
That design swiftly dissipated as soon as it hit commercial production, because nobody’s going to do that. The ducts got oversized so the prop would fit. Eventually the ducts got rigid, and basically the whole efficiency argument went away. As soon as that argument was gone, people started saying, “Well, what’s the point of these ducts?” And cinewhoops morphed over time into what you see today.
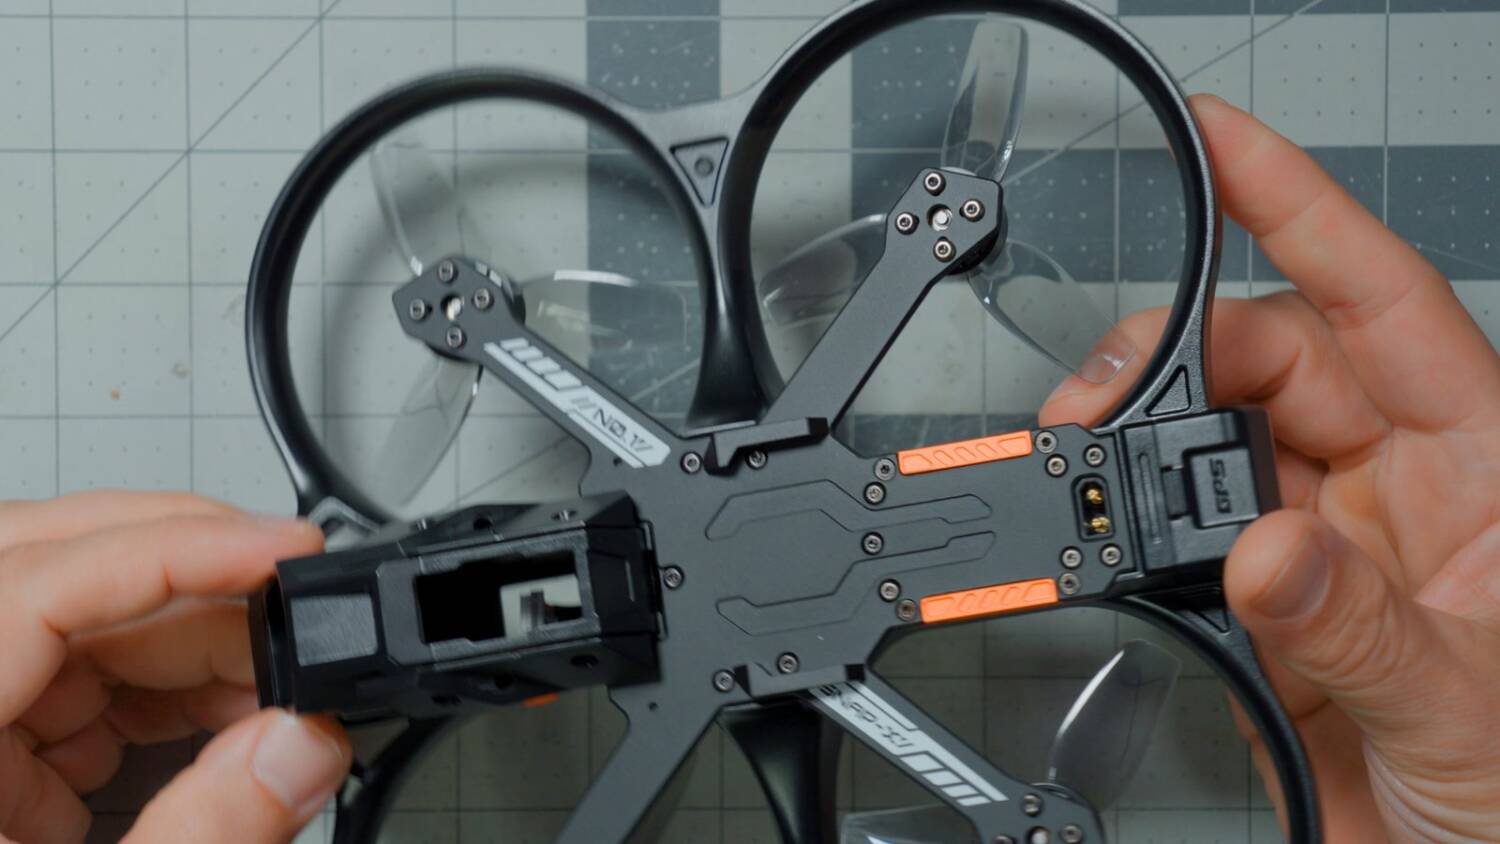
The idea now is that we still have the protective effect of the prop guard. We can still fly inside a building, around an expensive automobile, or around people and actors, and get that cinematic effect. But we don’t have all the additional weight and complexity. Ducted cinewhoops flew badly because the ducts made them fly badly. The modern ones fly better. They’re the current evolution of cinewhoop design.
So what have we got here? I’ll take it outside and fly it, and put it on the scale. But I think we’ll end up with something that doesn’t fly as well and is heavier than a modern cinewhoop. So what might the trade-offs be?
Larger frame: an easier, more flexible build
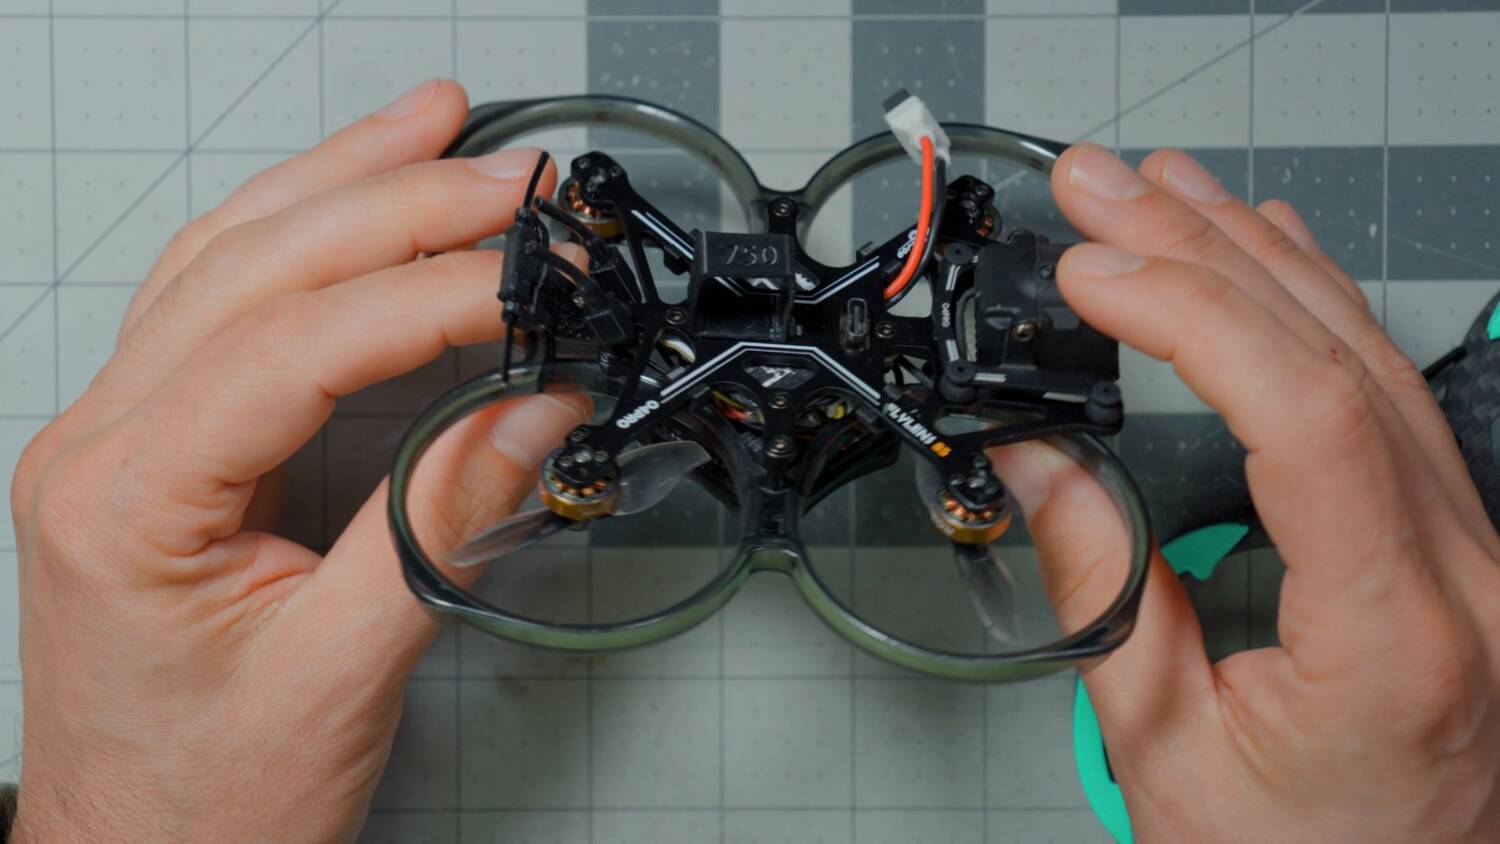
Certainly one trade-off is the size and flexibility of the frame. Look at the Flywoo Flylens 85: there’s basically one way to build it. You’ve got the flight controller, you’ve got the video transmitter. It’s very not adaptable.
The same is true, a little less so, of the smaller RateFPV Snap-X. It’s a little bigger, so there’s a little more room and flexibility in the frame. But you still tend to lock things down with these styles of frames.
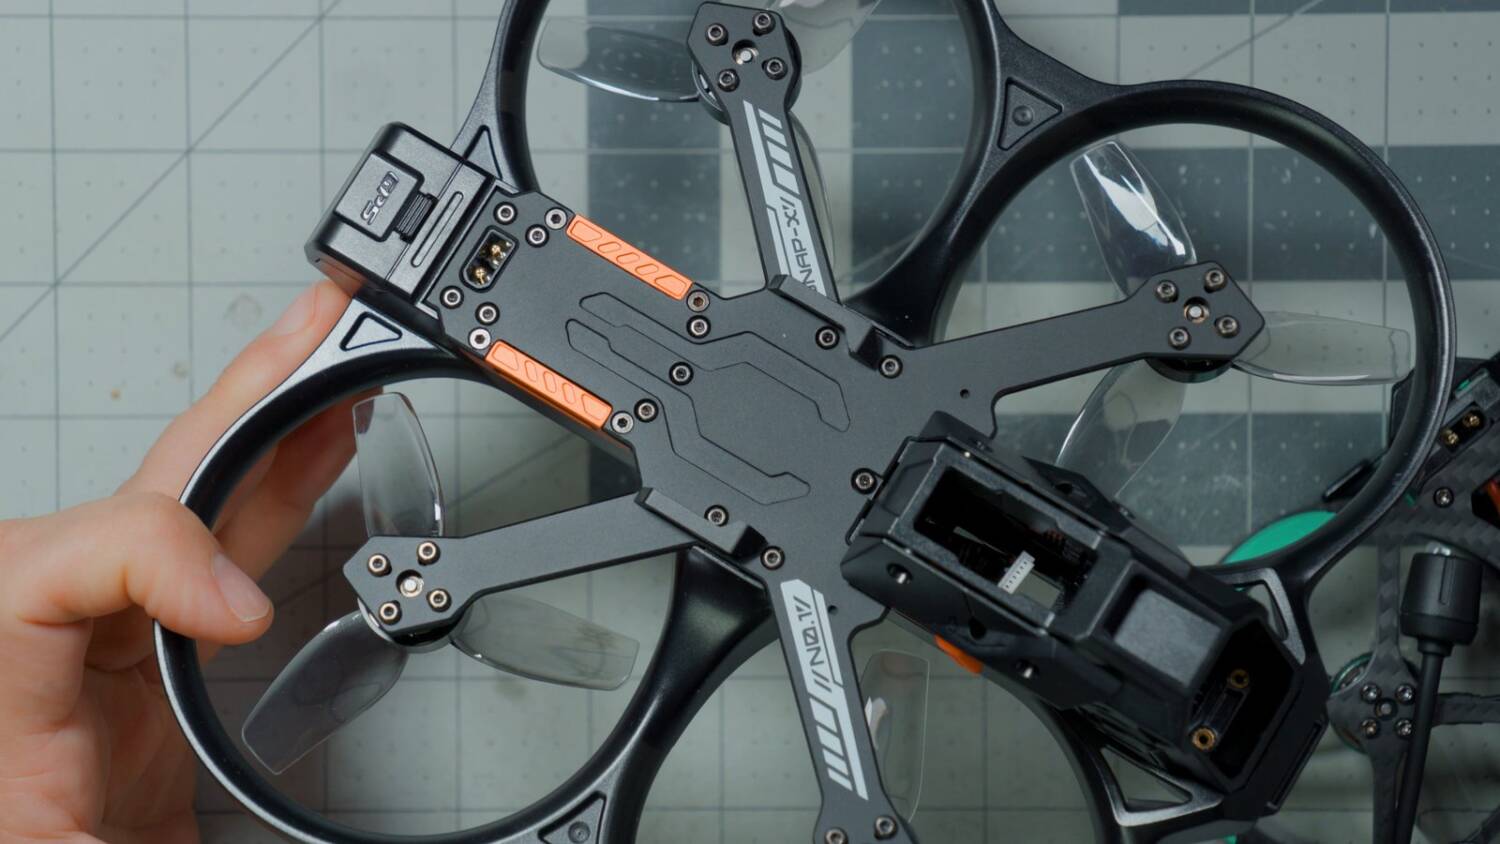
This style of frame is just two carbon fiber plates. You’ve got a lot of room in there, and you can mount basically anything you want. I’m not sure how much of an advantage that really is, because frankly most people are just going to buy it with the video transmitter they want. Then again, if you want HDZero or Walksnail, a lot of times you can’t buy it that way. You have to buy the version without FPV, which comes with no FPV system, and put your own in.
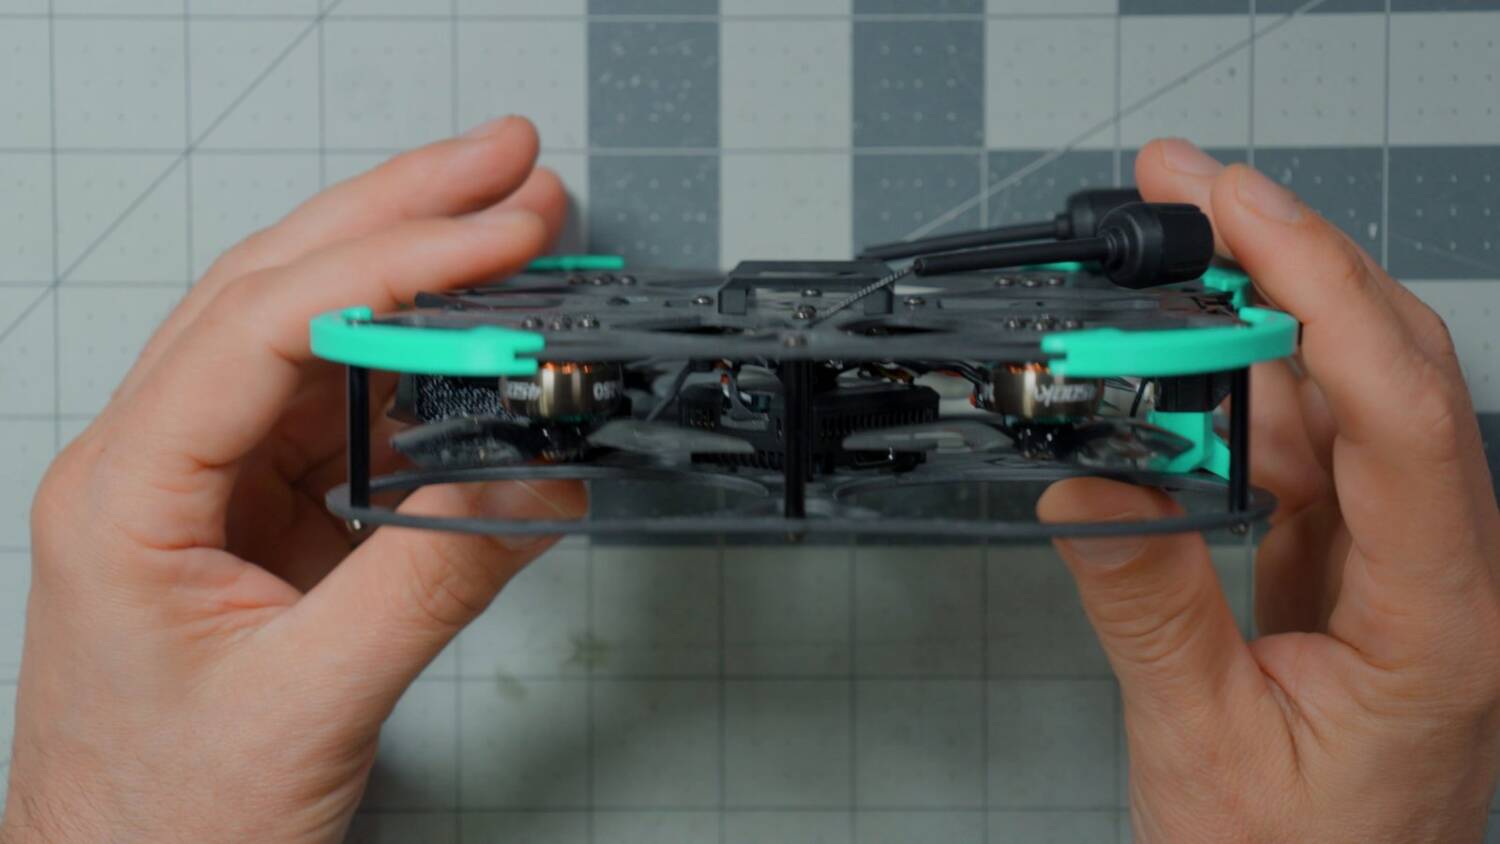
I don’t know for a fact that Sub250 will sell the Huma25 that way. But if you were doing that, this frame would give you a little more flexibility and an easier install. Especially if you started adding more non-standard stuff, like a light or some other accessories.
DJI O4 vs. GoPro
The way Sub250 sent it to me, it’s configured with the DJI O4 Air Unit Pro, of course. That has the advantage that we can run it without a GoPro. It wouldn’t carry a full-size GoPro, because it’s a 2.5-inch drone, but it does come with a little 3D-printed mounting bracket for a naked GoPro. That’s a pretty typical thing to do on a 2.5-inch.
We can run it with just the DJI O4. Many people would consider that the weight saved by not having a GoPro more than makes up for any slight difference in image quality between a GoPro and the O4. In addition, naked GoPros are famously not durable. As a flying professional, I’d be very happy to run the O4 instead, and not constantly worry about breaking my completely irreplaceable, no-warranty naked GoPro.
O4 camera has rubber bobbins
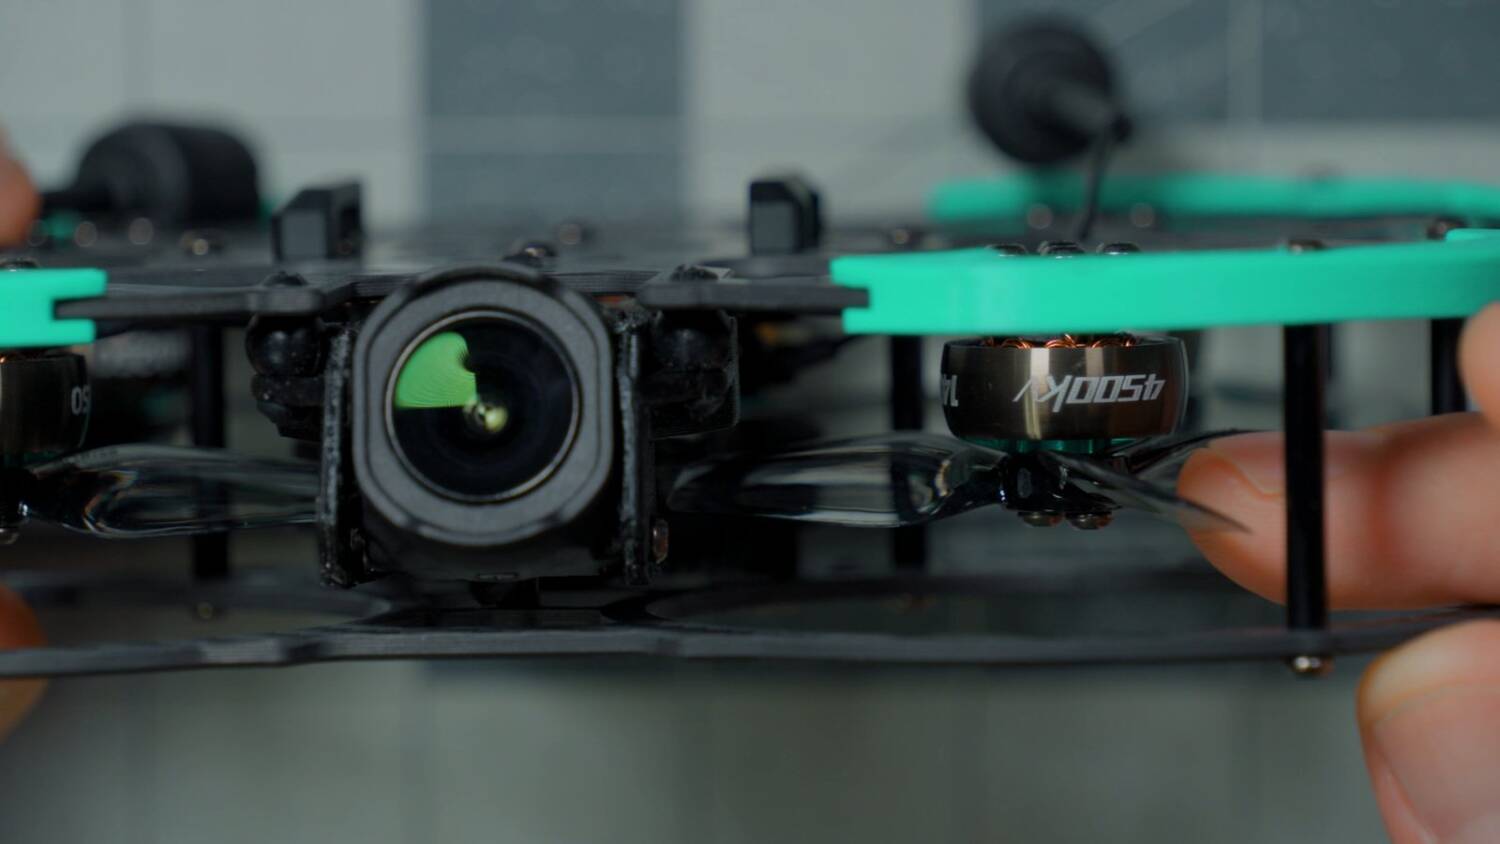
Sub250 has mounted the O4 camera on vibration-isolating bobbins. I normally hate this kind of mount, because in a crash the bobbins rip out, and they’re a gigantic pain in the ass to get back in again. In this case, though, I might give it a pass, because only the camera is mounted on them. The less weight you have on the bobbins, the less likely they are to rip out in a crash. I don’t think the camera is enough weight to rip them out. It seems pretty secure. I might be wrong.
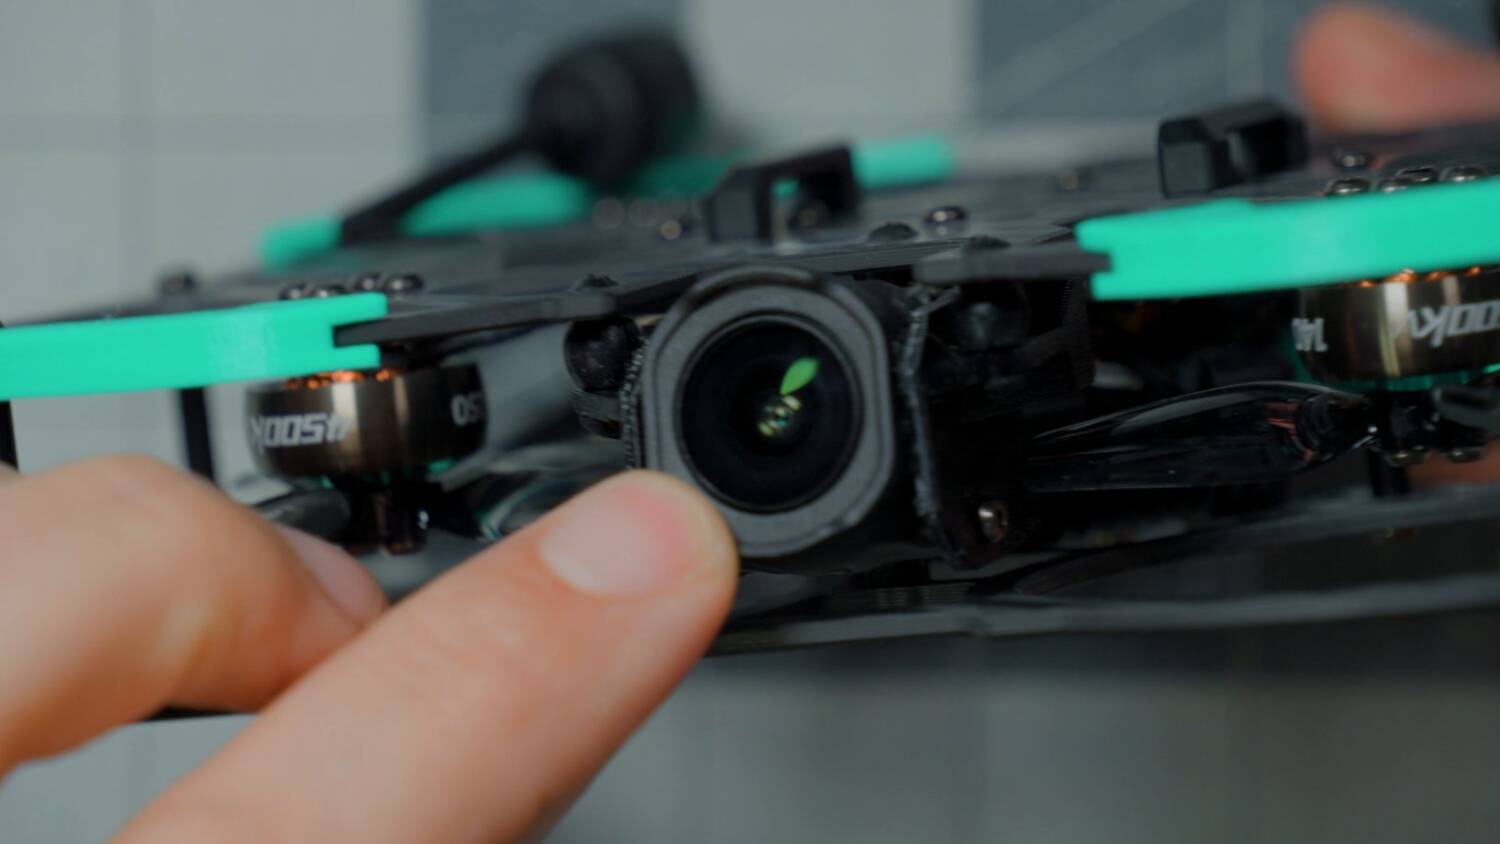
And if we look at how this is designed, there’s a pretty straight run across the front. I don’t think there’s much chance the camera itself takes a hit in a crash. And it’s a cinewhoop, so hopefully it’ll have fewer high-speed crashes than a racing or freestyle drone, although you never know. I’d give it a pass.
Obviously, vibration-isolating the O4 camera is essential. Number one, if you get jello in your footage, your beautiful cinematic footage is ruined. Number two, these days we have to deal with gyro gate. DJI changed the gyro sensor on the O4 Air Unit, and for whatever reason, the gyro data it records is garbage. That’s true whether you use RockSteady stabilization inside the O4 or stabilize afterward with a program like Gyroflow. You get all these twitches in your footage, and the stabilization doesn’t work.
If the camera is soft mounted well enough, the problem won’t rear its head. To know whether this air unit’s gyro is affected, we’d have to actually look at it. Maybe you can tell from the serial number. I’m not sure. So when we look at the footage, it’ll either have the problem, and we’ll go, “Oh, well, there you go.” Or it won’t, and we won’t really know whether that’s because of our air unit or because of the soft mounting. That’s just how it is. Sorry.
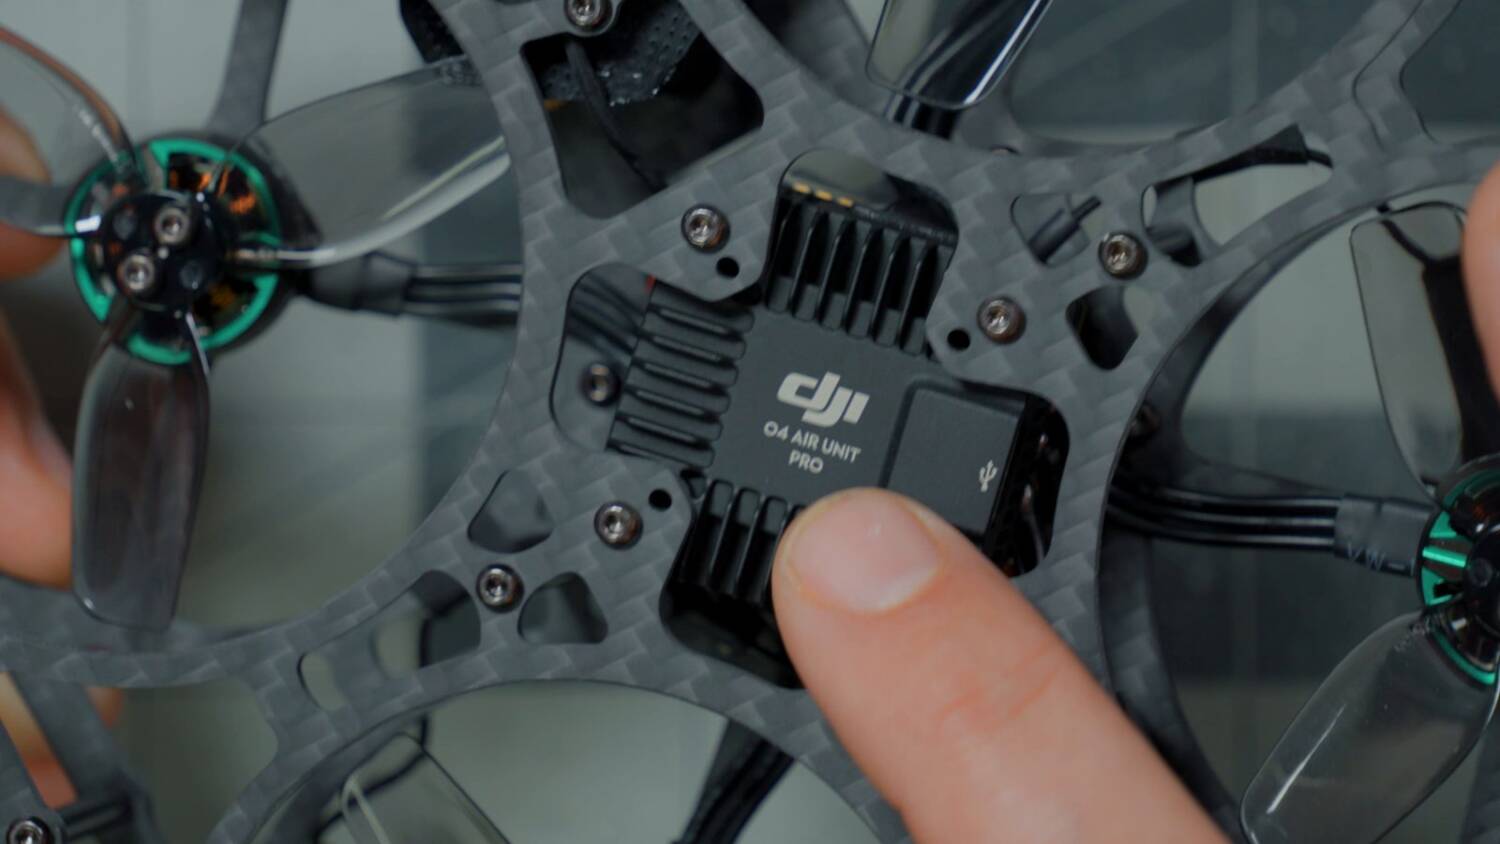
Motors: 1404 4500KV
The motors are 1404 4500KV. They’re a little beefier because of the extra weight of this drone, so hopefully they’ll handle a slightly bigger battery. We’ll see when we fly it.
Flight controller: F722
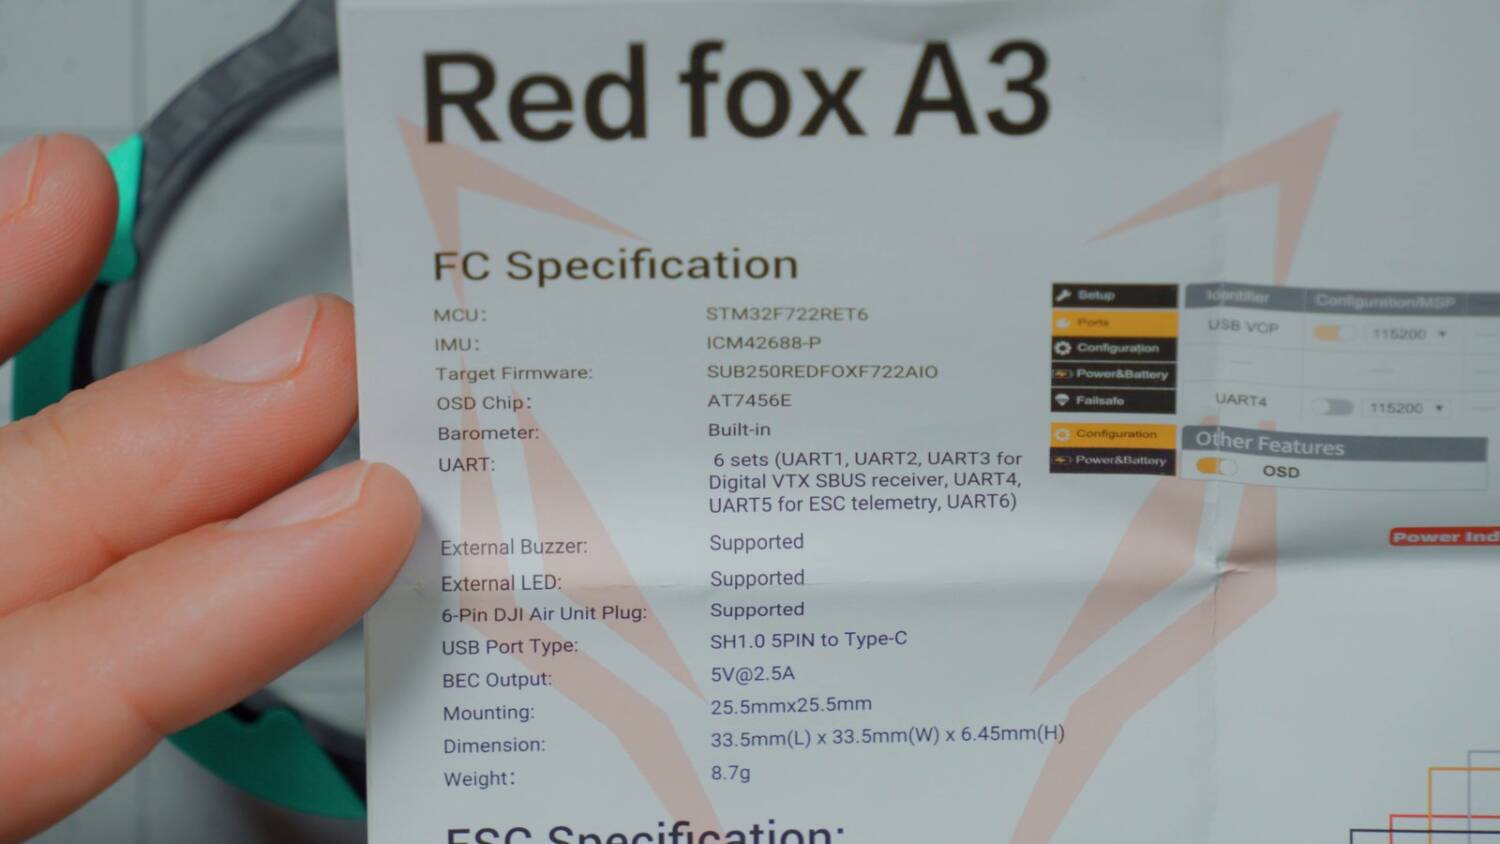
The flight controller is an F722, which is interesting. You don’t see a lot of those now, because F722 chips have gotten expensive. You see a lot of H743s these days, and some cheaper G4 and AT32 chips. This one’s an F722, kind of a blast from the past. According to the specs, it has six UARTs, a 5V 2.5A BEC and an OSD chip. Great.
The drone comes with a 2.4GHz ExpressLRS receiver, as you’d expect. All those extra UARTs mean that if we wanted to put something like a GPS on here, we could. It doesn’t come with a GPS from the factory, though.
Remote-mounted USB
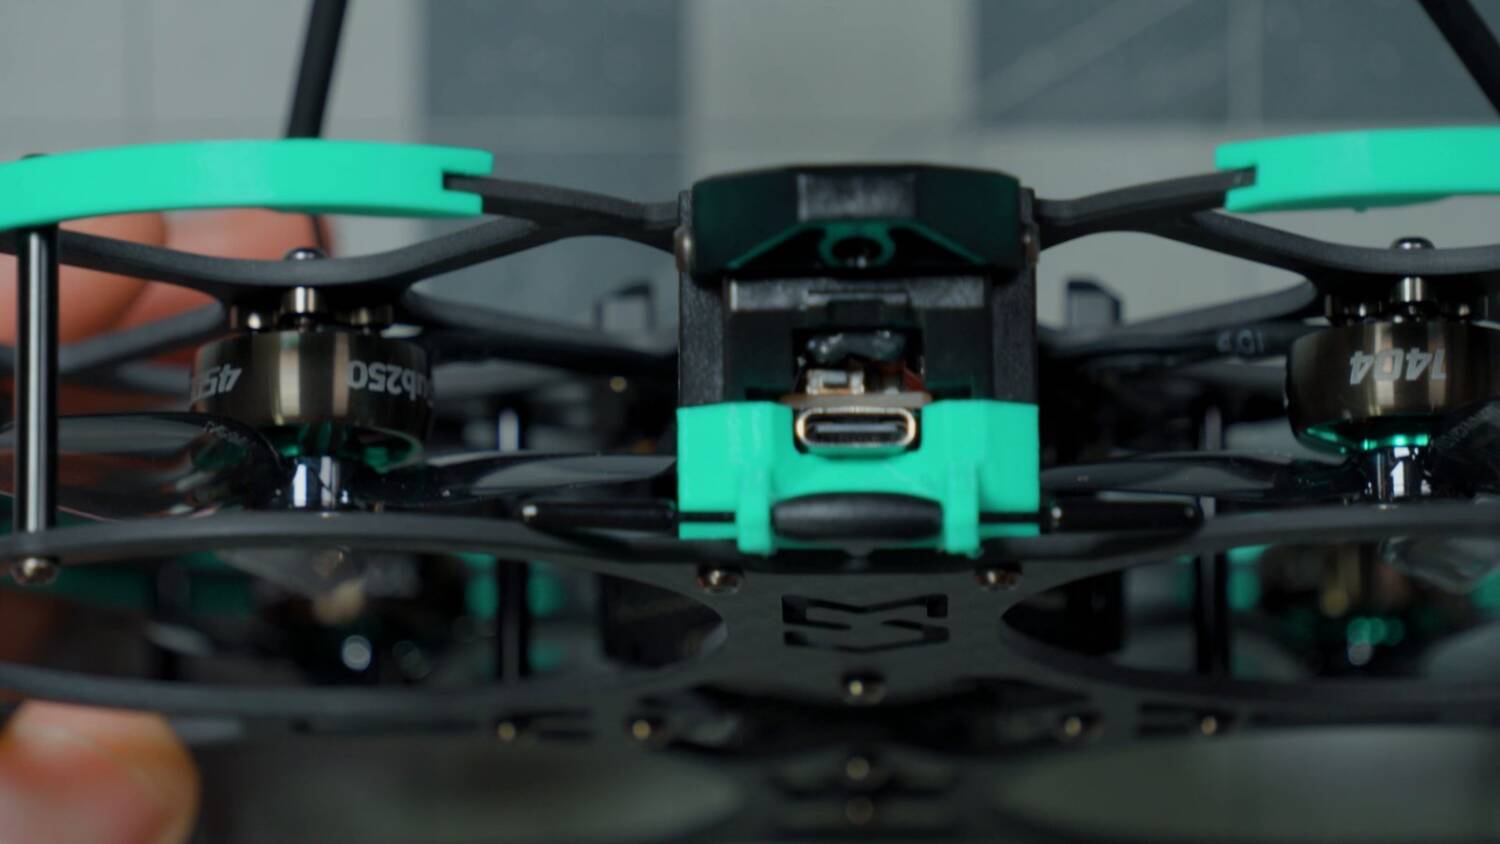
A problem I’ve run into with this type of frame is that it can be a real pain in the ass to plug the flight controller into USB. I was looking for the USB port and couldn’t even find it. That’s because they’ve moved it: there’s an extension to the back, and you plug in there. And never fear, there’s also a bootloader button right there, so you can do everything you need to do.
The ESC runs… BLHeli_32?
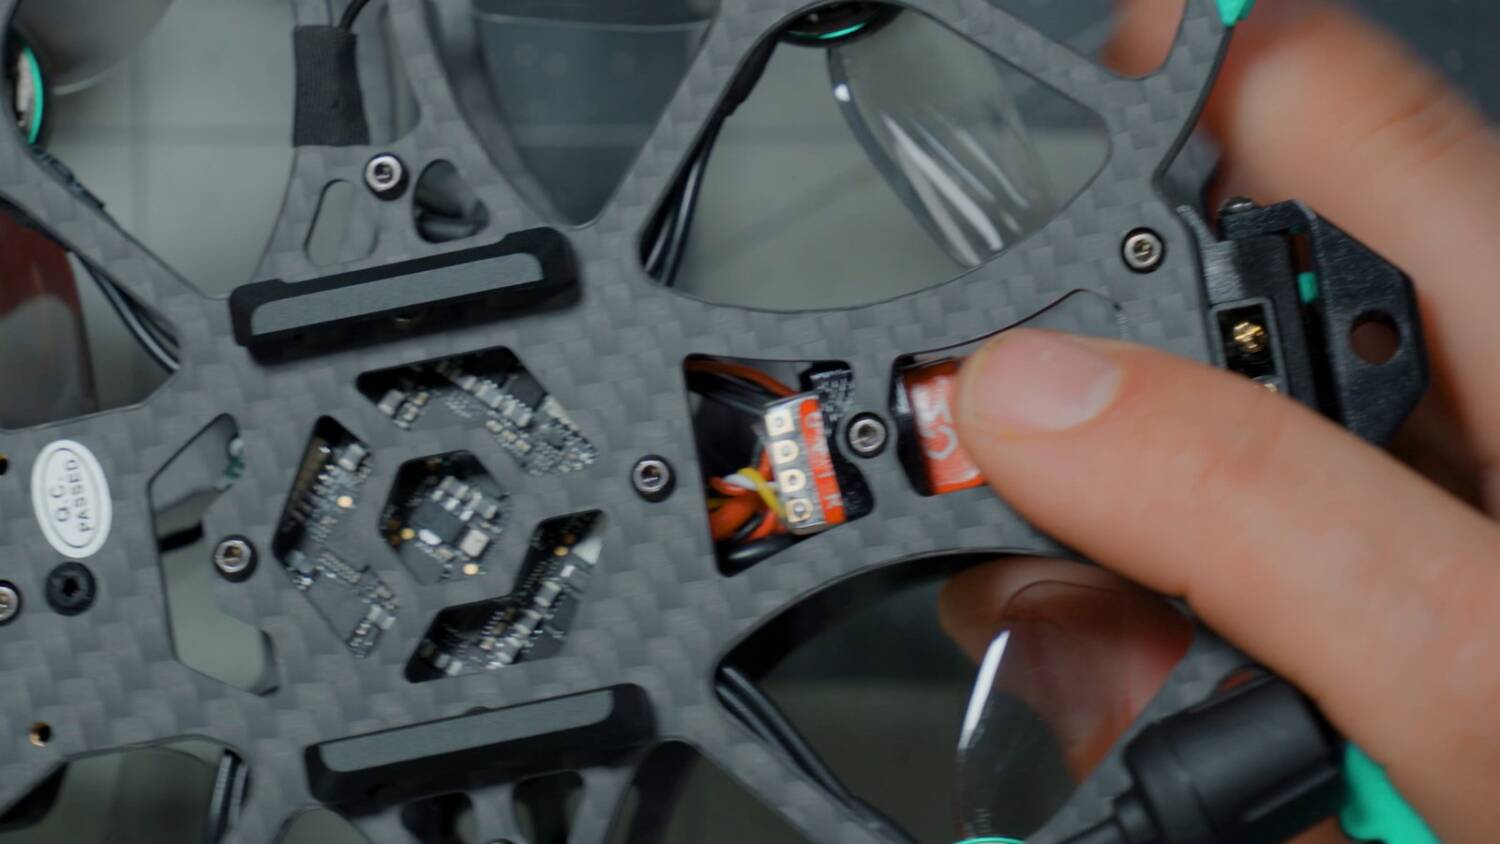
According to the paperwork, the ESC runs BLHeli_32. That’s interesting, because the BLHeli_32 project shut down some time ago, and there’s no way to flash BLHeli_32 firmware. You’re basically stuck with whatever you’ve got. Manufacturers have found some workarounds, like flashing an internal version of BLHeli_32 that was never intended for public consumption.
I don’t think that’s a deal breaker. Most of the time, people use their ESC as it’s delivered and don’t change it. And to be clear, you can still change settings on the ESC, like the timing or the PWM frequency. You just can’t flash a different firmware version.
The ESC is running BLHeli_32.9. How did they get 32.9 on this ESC, when the servers have been shut down for over a year now? I don’t know. But that’s a problem, because 32.9 has two bugs. They don’t affect everybody, but they do affect some people. One: in very rare cases, the motors spin randomly on power-up without you commanding them to. Thankfully, this has prop guards, so maybe that’s less of an issue. Two: sometimes after you disarm, the ESC won’t rearm until you power cycle it. You’ll be flying, you’ll crash, you’ll disarm, and then the flight controller will arm, but the motors won’t spin.
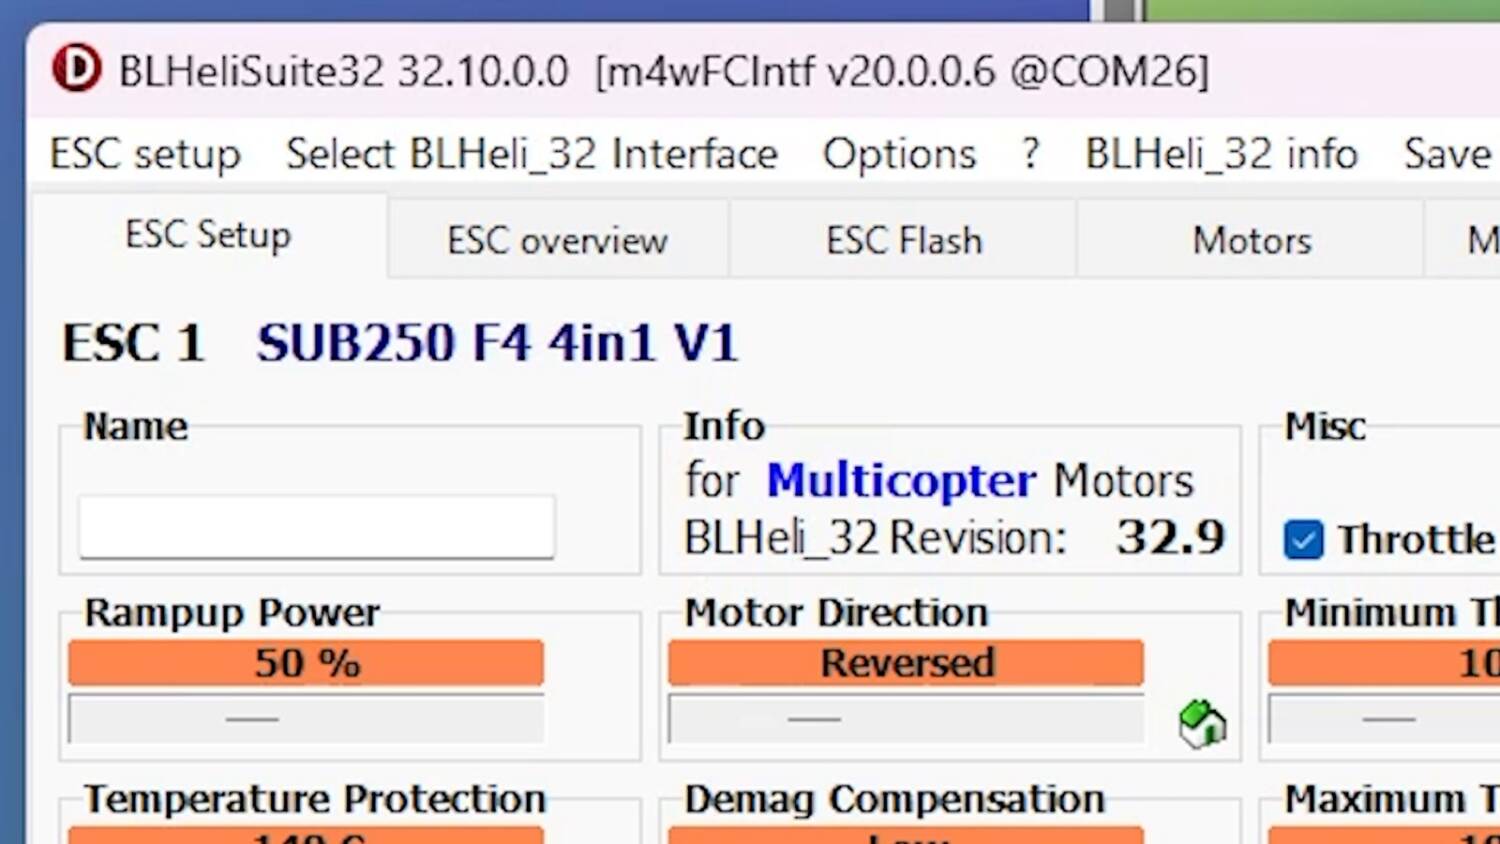
You want to know the fix? Flash 32.10. You can’t do that, because BLHeli shut down. So if you care about this, you’d want to flash the ESC to AM32 firmware. (Here’s a tutorial: https://www.youtube.com/watch?v=3mfhvqVV2zU) That assumes there’s an AM32 target for this hardware, and that you want to go through the hassle. It takes some fiddly soldering and flashing.
For some people this will be a deal breaker. I don’t know if it would be for me. Most likely I’d just happily go about my life and never think of it again. But you should know it before you put your money down. And in my humble opinion, they should ship it with AM32. They can flash AM32 as easily as BLHeli_32, and then you wouldn’t be up a creek like this.
Annoying antenna install
The last thing to do on the bench is mount the antennas. The drone comes with little 3D-printed mounts, and one side is meant to go over a standoff. It’s completely befuddling to me that they sent it from the factory without these installed. I understand why they didn’t ship the antennas plugged in: they had to fold down to fit in the box. But the least they could do is install the stupid 3D print, and I’m kind of mystified why they didn’t.
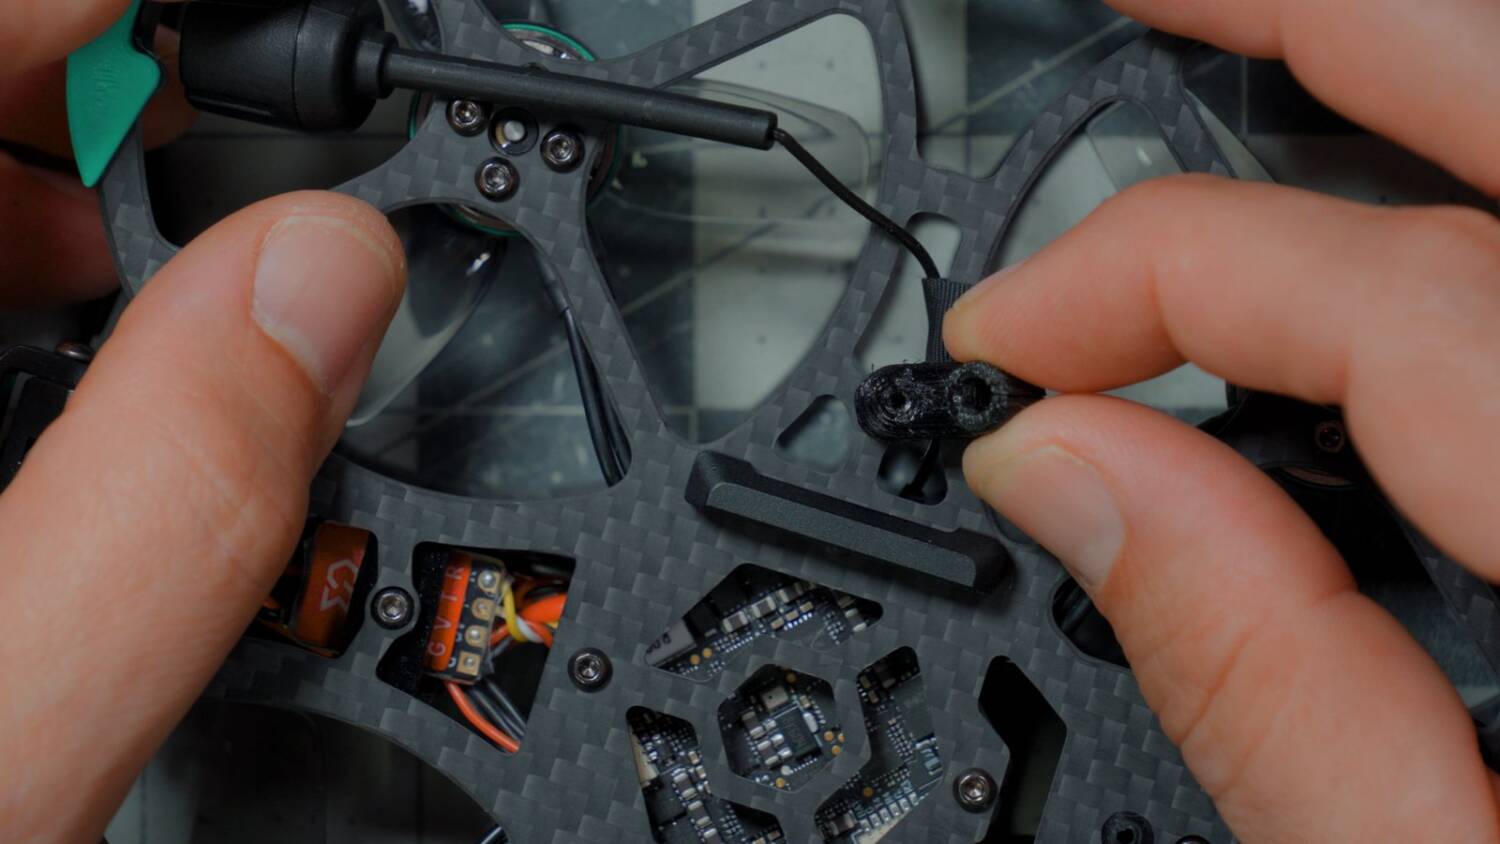
Maybe this is a pre-production version. Maybe when it gets to production — wink, wink — they’ll start pre-installing them, so customers don’t have to start yanking the damn thing apart as soon as they get it. That would be a no-brainer, right, Sub250? You were still in development and didn’t have the prints ready when this one was built, so you sent it to me with them uninstalled. But for customers, you’re going to do the right thing, right?
I worked out that the mount goes on where the screw is. A couple notes. First, I always object to a screw driven directly into TPU. Yes, you get away with it a lot of the time. But a lot of times you can’t get the screw tight enough, because the TPU flexes. And if you do tighten it, eventually it rips through, because the TPU is soft. So I always put a washer on a screw that goes into TPU. They don’t provide washers. These are M2 washers. You can get a hundred of them for like a dollar, and I highly recommend you get yourself a bag of M2 washers for just such an occasion.
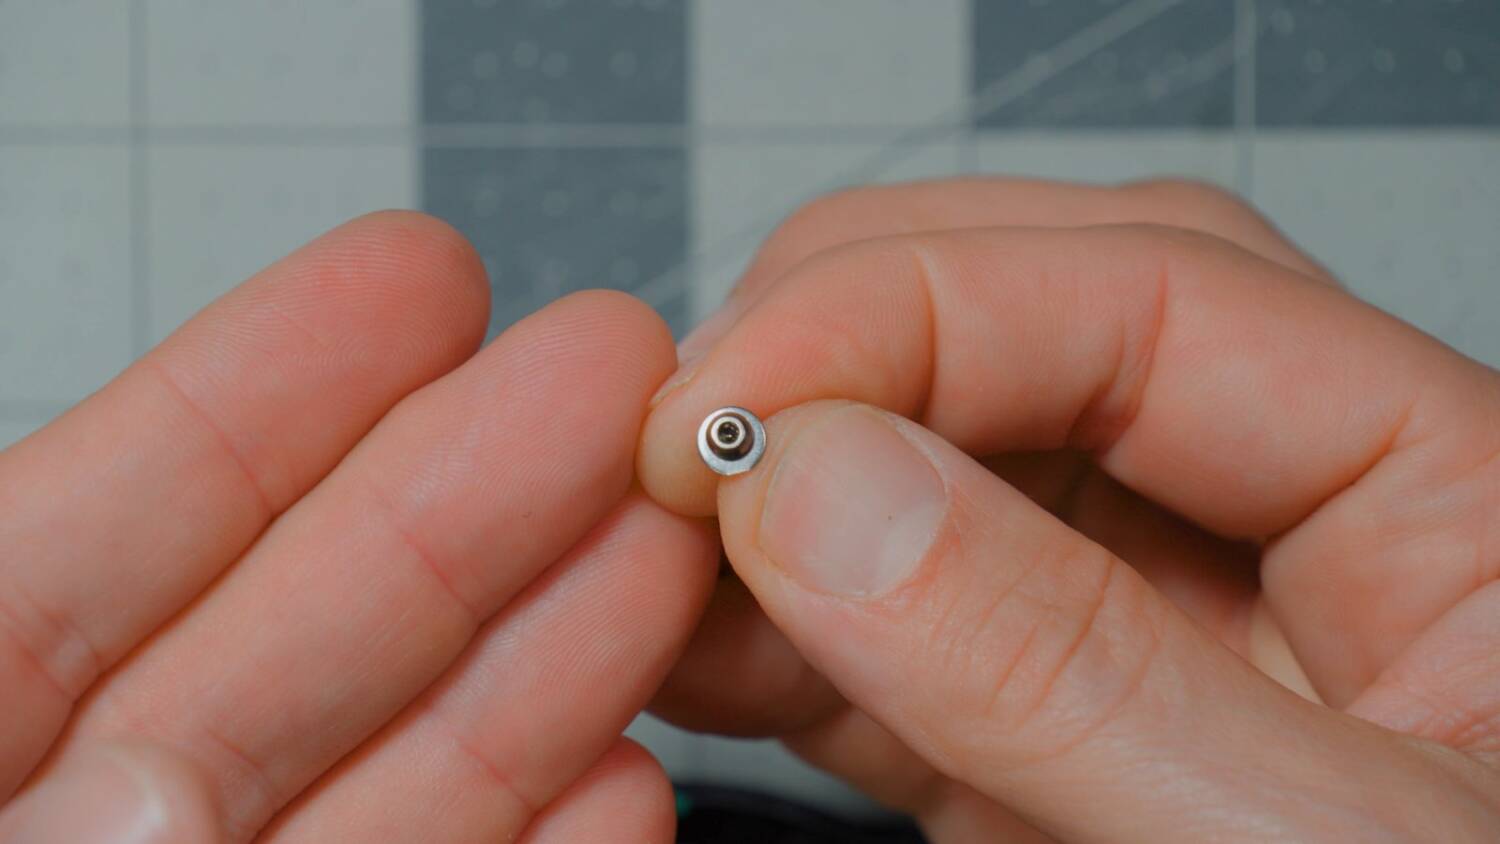
Second, the screw they give you from the factory isn’t long enough. It’ll just barely engage, and that’s not enough engagement. Since you know you’re going to ask the customer to replace this screw and put the mount on, you should have given me a longer screw. Obviously I have my own screws, so I went with an 8mm. I think it’s a 6 from the factory. But the real answer is that the mounts should be pre-installed from the factory. And the next real answer is that if you’re going to make me install them, the least you could do is give me the correct length of screw.
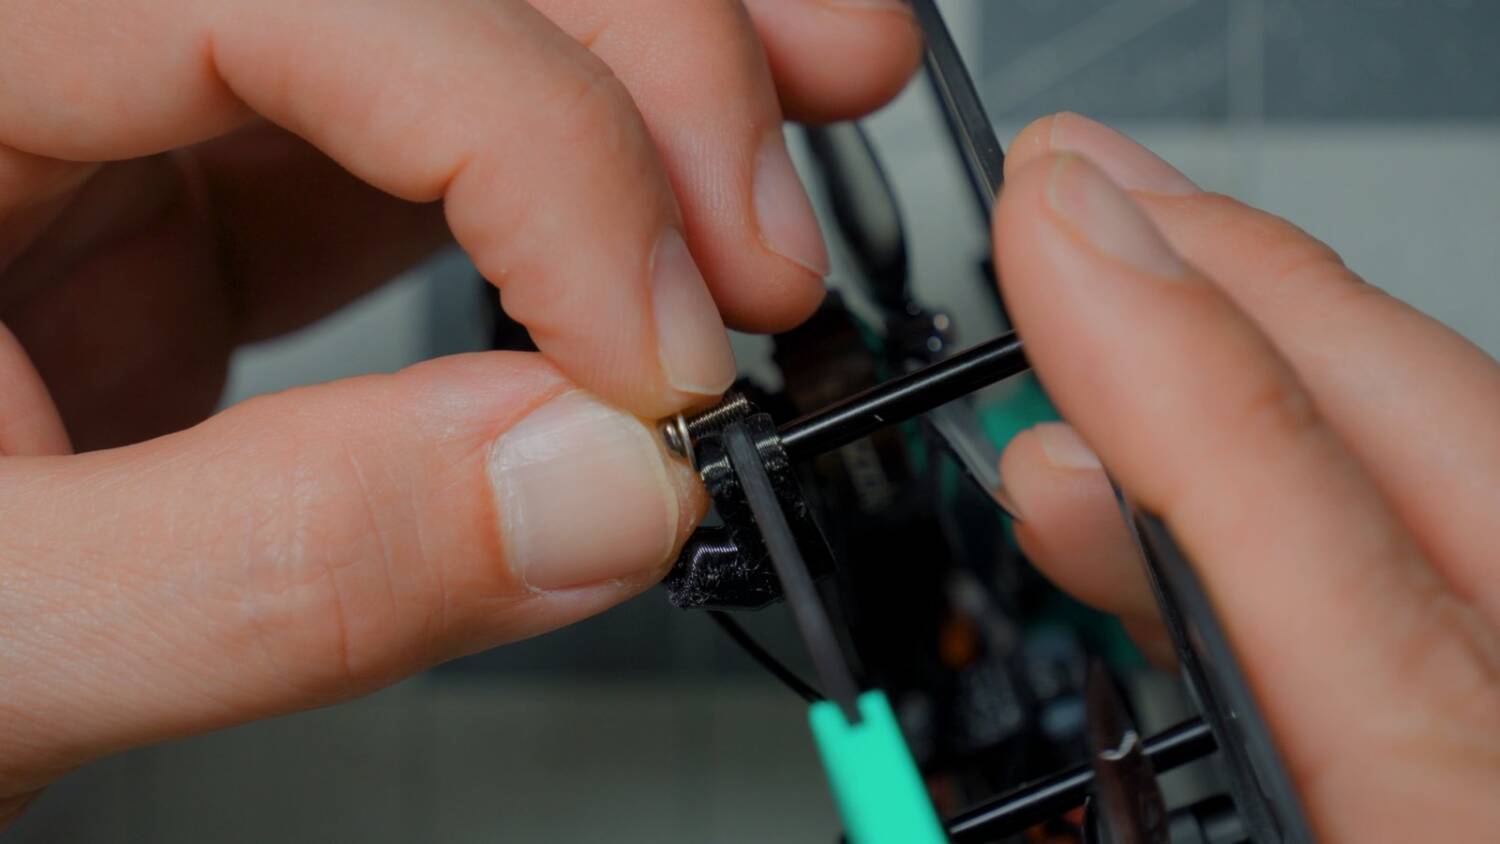
Then the antenna just snaps in. There’s no world in which that’s going to hold. It’s going to pop out so easily. The correct way to do this would be a little channel for a zip tie to squeeze it shut. But I can’t tighten it, because it’s made to the exact dimension. It needs some material removed so I can tighten it down.
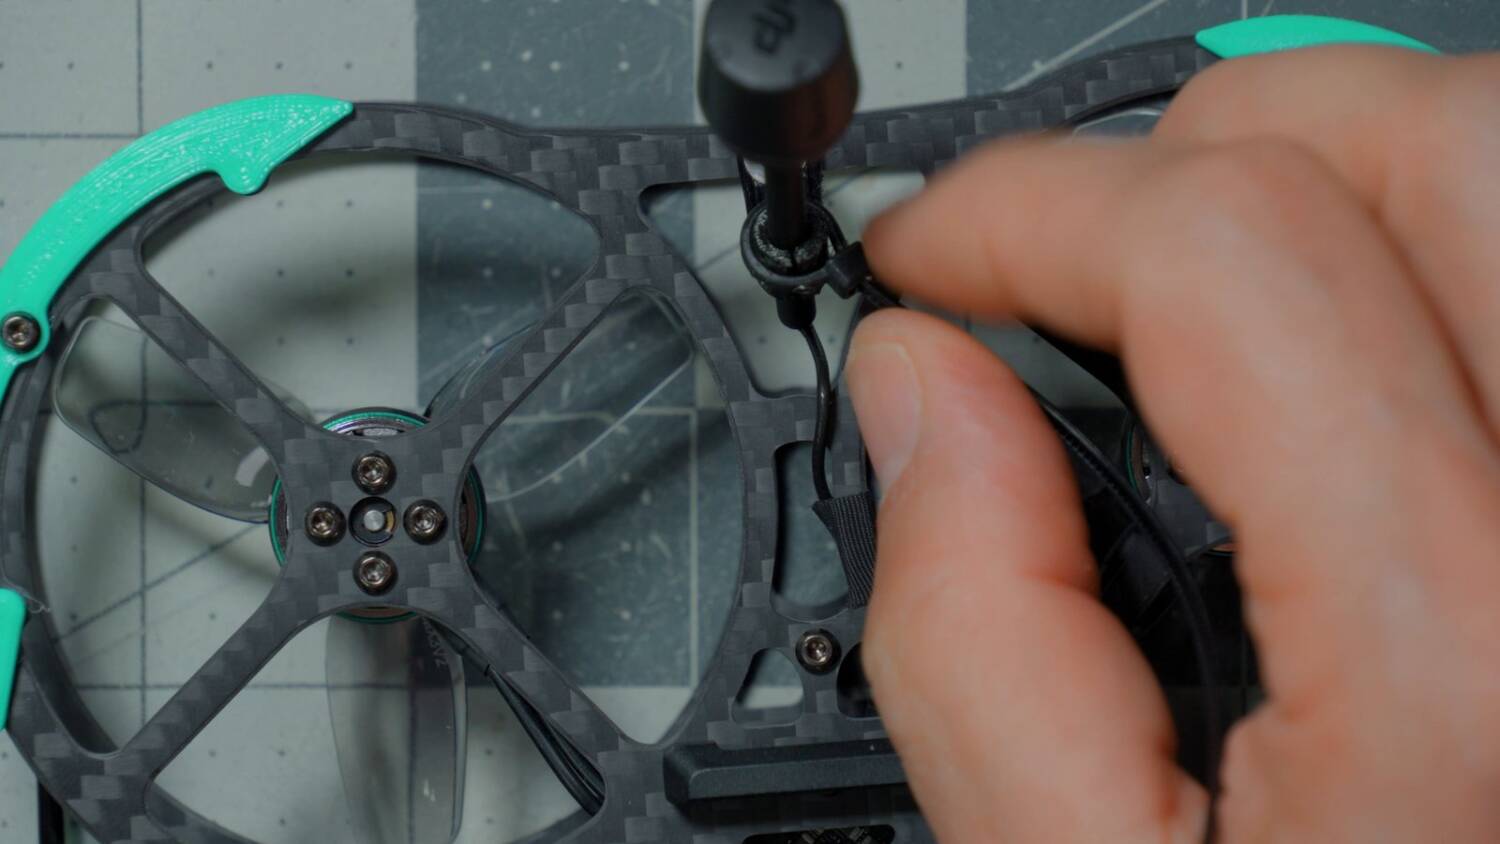
That will pop out instantly, and I’m just not going to fly it like that. So I shaved about a millimeter off one side, so there’s a little space to squish it down with a zip tie, and hopefully it’ll hold better. Am I kidding myself here? I look at these things and go, “Who thought that was okay?” And then I’m like, “These people are professionals. They know what they’re doing. Am I just being nitpicky?” I got the zip tie tight enough that it bites into the TPU.
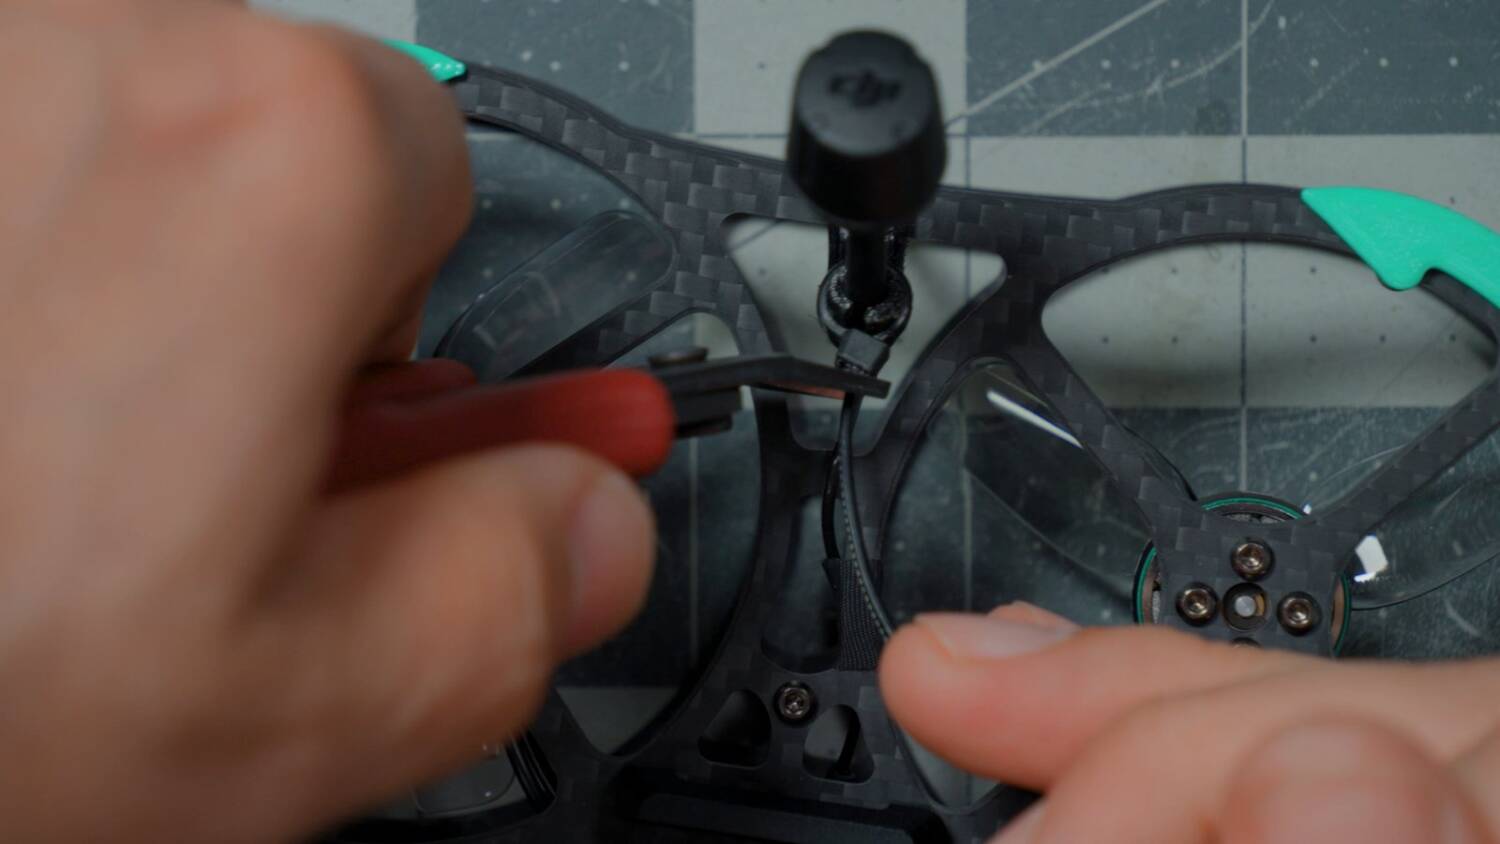
The weak spot will be if it pops up and slips off. The mount should be a little longer, with more of a collar, and about 1mm thinner. The gap should be bigger, so a zip tie on the collar crushes down and holds everything securely. It wouldn’t be that hard to modify the STL, if they’ve published it. It would actually be pretty easy to modify and fix.
Weight
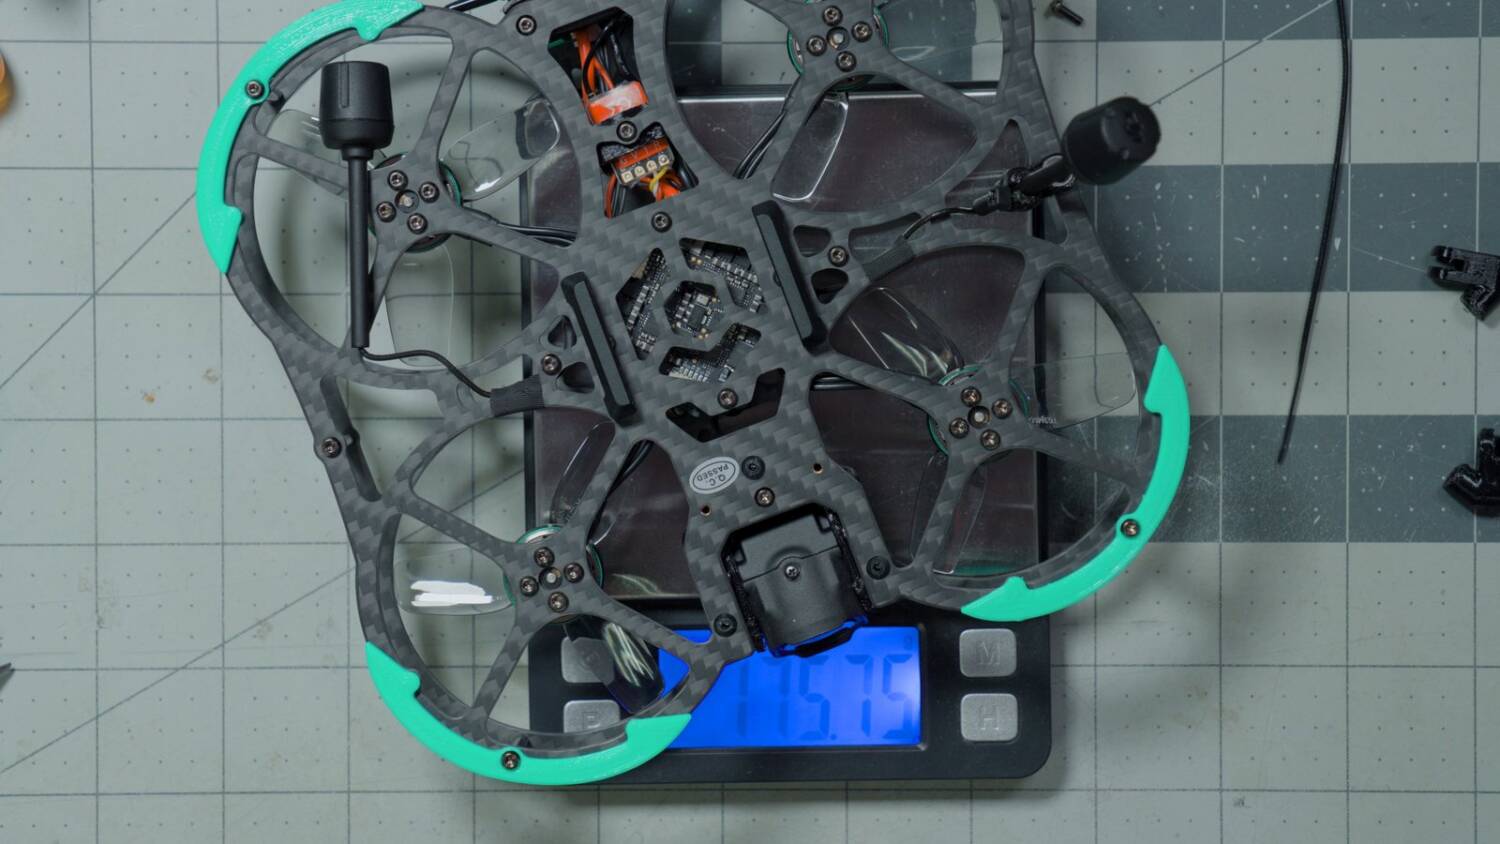
It weighs 175g dry. If you’re trying to stay under the 250g limit — and the whole name of the company is Sub250 — you’ll have 75g for your battery.
Flight test
Before flying, I looked it up: the batteries Sub250 intends us to fly with are 4S HV, about 650 to 850mAh. I checked, and those batteries weigh roughly 60 to 70g. So yes, as I’m flying it here, it’s under 250g. I’m curious how much flight time we’ll get. These are fine batteries, but they’re not very big, and it sure seems like this thing could handle more weight. But obviously we have to stay under 250g, so we stay legal, right?
This type of battery strap drives me crazy. You can’t cinch down on the battery, because the two lugs keep the strap from snugging up against it. We’re only contacting the battery on the top side. The strap can’t really grip it and hug it. No matter how tight I tighten it, it won’t get a good grip on the battery. It’s so loose it’s going to pop out. What do you do about that? I don’t know. Ever feel like my job is just complaining about stupid, nitpicky things? I’m happy about some things, right? Sometimes.
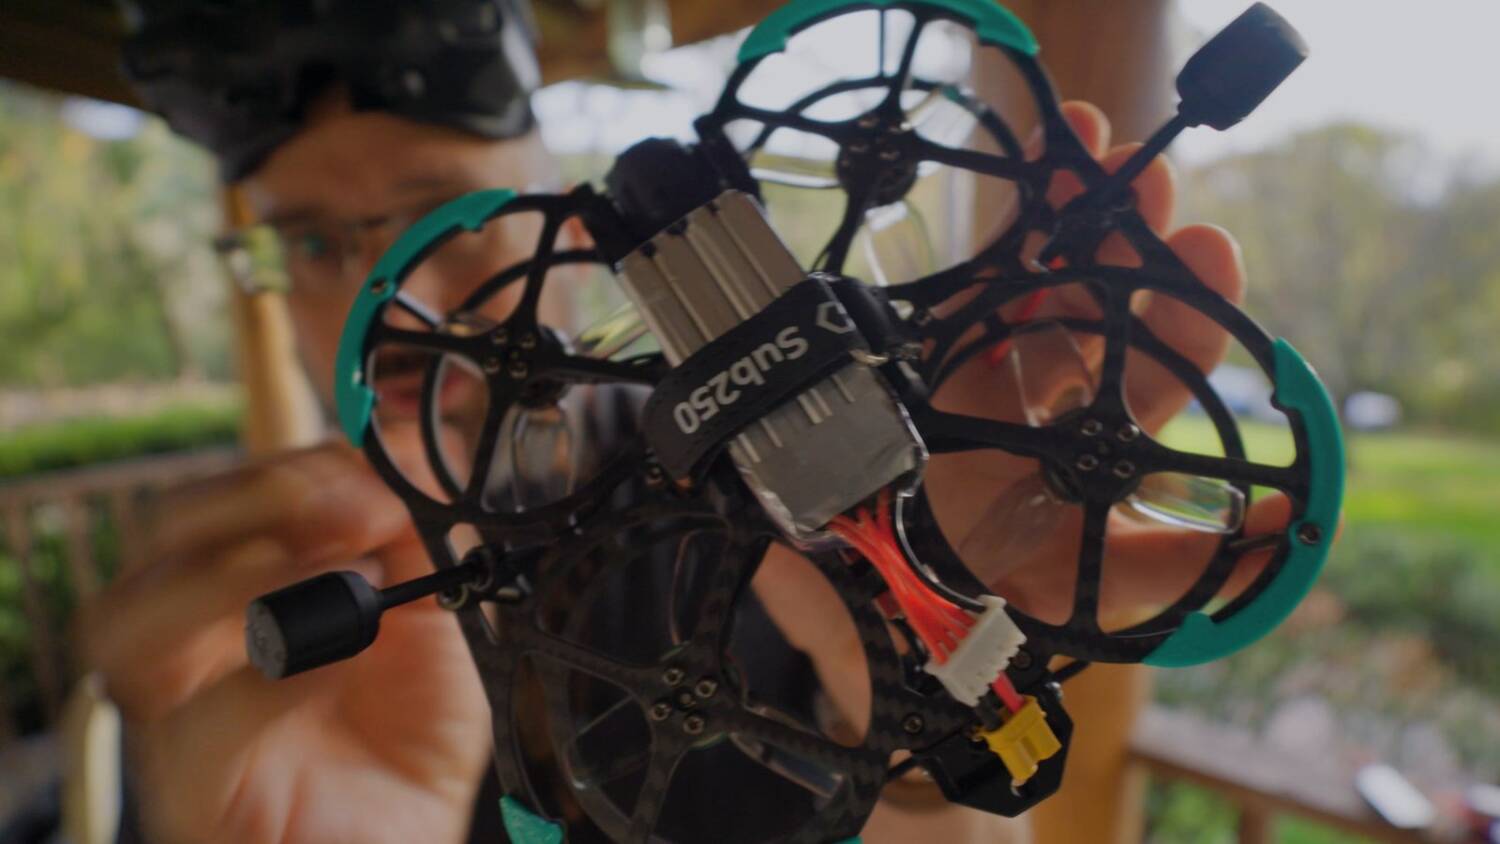
The battery was immediately at 3.8 volts, and yes, these did just come off the charger, I assure you. If it’s getting a lot of sag, you could argue that’s a criticism of my battery more than the drone. I don’t know. These are fresh, healthy batteries, fully charged. I don’t know what you want.
As usual with the O4 Air Unit Pro, I’m not going to worry about range and so forth. That’s a known quantity for the O4. I will say that they’ve put the antennas on little 2-inch U.FL extensions. I didn’t show that on camera. That’ll slightly decrease the range, because each plug adds a little bit of loss.
You’ll see RSSI LOW on the screen. That’s not a problem. It’s a Betaflight configuration issue, not a receiver issue, and it’s quick to fix:
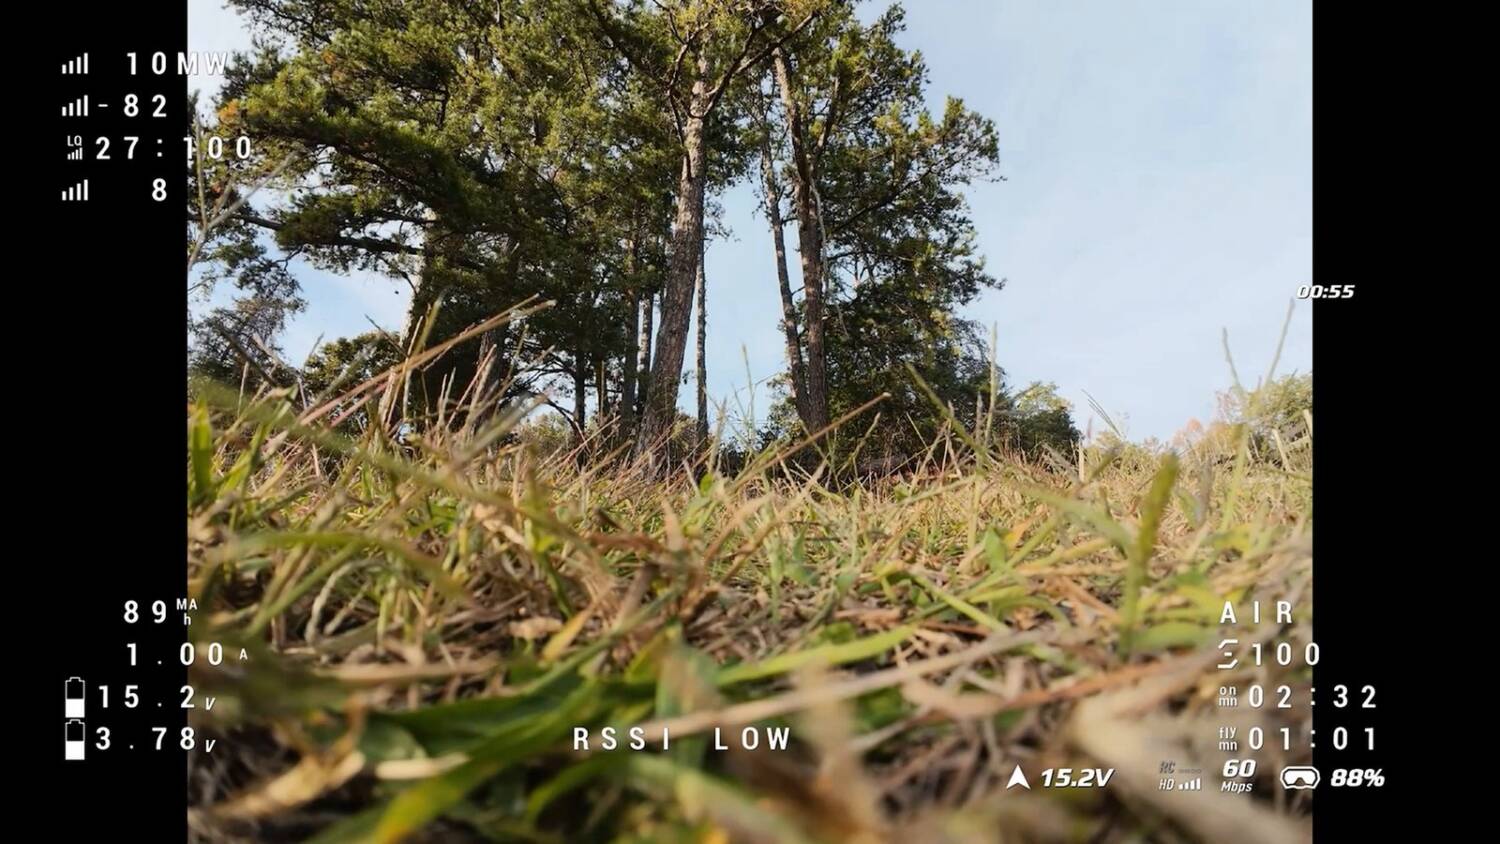
- In the goggles, open Betaflight’s OSD menu with the sticks and go to Features > Alarms.
- Find the RSSI alarm.
- Turn it all the way down.

I flew it nice and smooth and low to the ground — a little too low, maybe — going for the kind of smooth, slow, cinematic flying cinewhoops are known for. I did a little real-estate-style move. They’ve got a lot of little sideways moves. I lost a little throttle control there, which I see a lot in real estate videos. God, the O4 looks so good when you set it to 4K. Stupid good.

I was hoping RockSteady and gyro gate weren’t completely ruining the 4K footage. You won’t know until you get back and check the onboard footage, because you don’t see that in your DVR.
Call it four minutes on that pack. That was one of the 650mAh packs, not the 850, so that’s about as short as it’s going to be.
We do sometimes push our cinewhoops to be a little more aggressive, so next I did some stupid acrobatic stuff it’s not intended for, just to see how it behaves. It got all out of sorts. Instead of a nice smooth dive, it moves its nose around left and right in ways I’m not commanding. If you don’t know what you’re looking for, it may be hard to see, but if you do, you definitely can. It doesn’t do it every time. Sometimes it does okay, and it can get some speed. I haven’t changed the uptilt at all.
And sometimes coming out of a dive, the motors spin up and get excited. You’d think I’m hitting the throttle, but I’m not. I know I’m not. But that’s to be expected for a drone like this. It’s not primarily an acro drone. It flies okay. You definitely know it’s not an open-prop 5-inch — which is probably a good thing if I’m going to go hitting branches like that. It kind of caught itself at the end there.

In terms of how it flies, I’d say it’s typical to better than average for a frame like this.
Durability test
The question this drone asks us to consider is: why would we want a drone that’s gone backwards historically in its frame design? Here’s why. When you have prop guards, you can hit things and keep flying. No problem. Well, okay, the prop guards won’t keep the grass out of your props. Sorry.

Point being, when you actually have prop guards, you can just rub this little guy up against things. And no, the prop guards on modern cinewhoops, one little strip of plastic, don’t do a good job protecting the props in more aggressive impacts.
Then I took it somewhere tight: basically, my barn. I don’t like to fly around my house, especially when my family’s got all their stuff spread all over the living room. So the barn is my proxy for an indoor environment.

I wondered if my props were okay after that. Yes, they’re fine. I’m doing it a little bit on purpose, and also a little bit because I’m just a mediocre pilot. But my point is that when you have full, complete prop guards, you can do stuff like that. It still acts like a cinewhoop, no doubt. But the props are fine. No shake, no shudder, no bent or chewed-up props. It’s just as smooth and good as when we started.
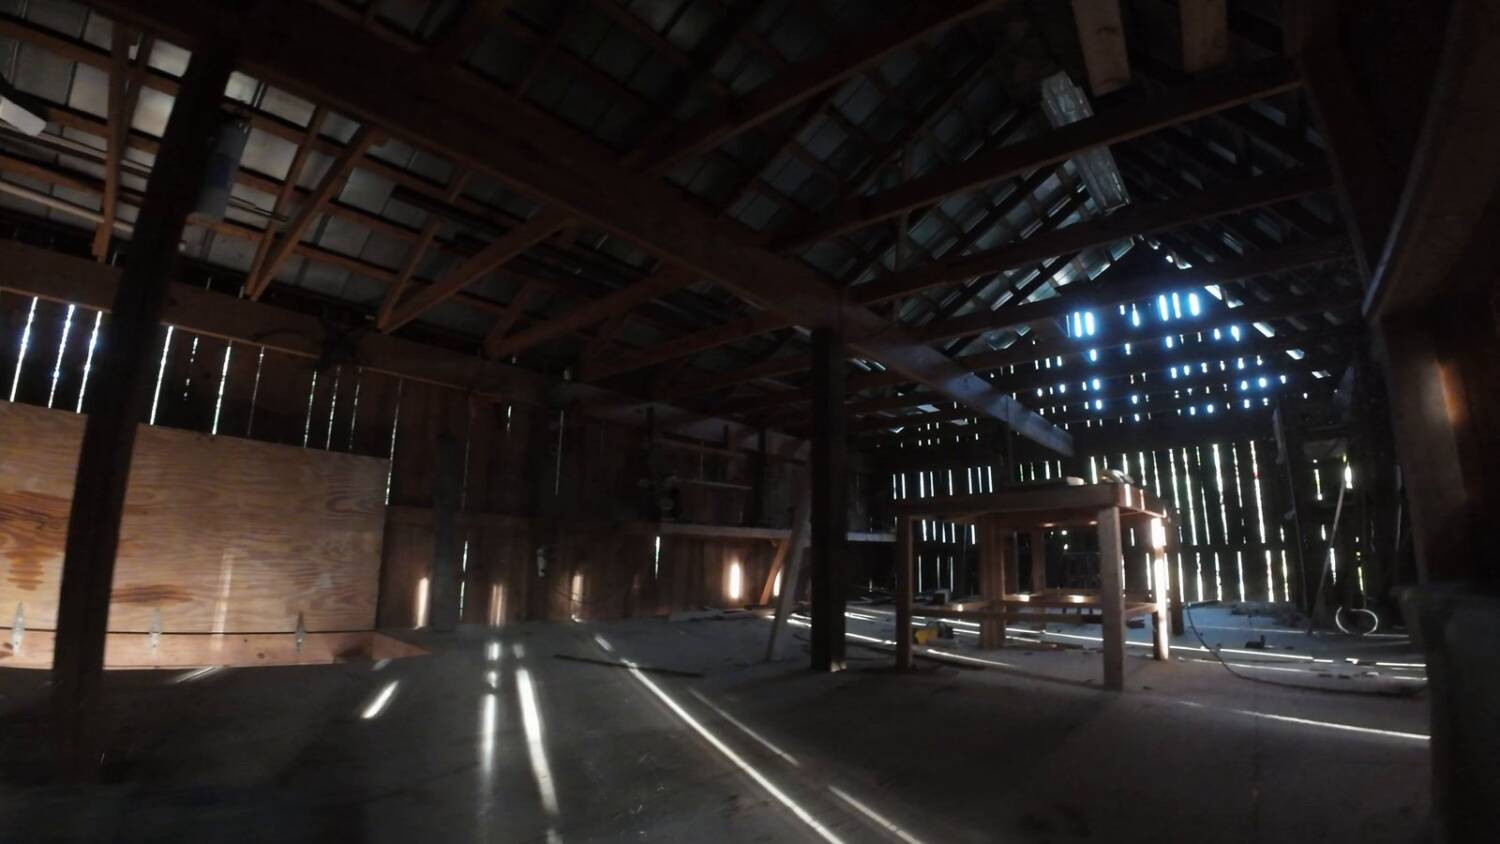
And at no time has a grommet or bobbin even thought about popping out. I dropped it from like 12 feet in the air, and it’s fine. The frame’s fine. Those weren’t hard hits, but it’s fine. Then I put an 850mAh battery on it to see how long it flies. Probably a little longer.
This really grew on me
Maybe I’m just the kind of guy who likes a blast from the past, but I’m happier flying this than I thought I’d be when I first took it out of the box and went, “This is your new cinewhoop?” There’s a lot to be said for a sleek injection-molded plastic frame. There’s also a lot to be said for the simple old ways — a carburetor instead of fuel injection. In some ways, they were better.
If you’re looking for a cinewhoop with a little more protection, a little more durability and a little more ability to take knocks and keep flying, at the expense of extra weight, reduced flight time and reduced agility, the Sub250 Huma25 is worth a look. It’s hard for me to think of what you’d cross-shop it against. Normally in a review I’d say, “Yes, but then you have to think about this other one, which is better or worse in some way.” I don’t think a lot of companies are still making this kind of cinewhoop. So I guess if you’re looking for this, this is the one to get.
Oh, and the antennas didn’t pop out either. I guarantee you they would have popped out if I hadn’t done my little modification. You should do that mod.
The full review, with flight footage, is on my YouTube channel.